Run virtual appliances
One of the most common reasons why you would like to install and run VMware Workstation Player is to run virtual appliances. They are prebuilt and preconfigured virtual machine images that can be deployed on VMware Workstation Player. These appliances are usually packaged in the OVA (Open Virtualization) format or come as a zip file containing a virtual disk file (.vmdk) and a .vmx configuration file.
A virtual appliance usually contains a complete software stack needed to run a particular product. For example, consider the situation in which you need a virtual machine with WordPress installed in it. Without virtual appliances, you would have to go through the following scenario:
- Find and download an ISO file containing the operating system that WordPress will be installed on.
- Install and configure the OS in VMware Workstation Player.
- Install a local server and database that WordPress will use.
- Download and install WordPress.
- Configure WordPress to use the installed web server and database.
With virtual appliances, you can download an image that already contains the server, database, and WordPress installed and have a fully functional WordPress installation in a matter of minutes.
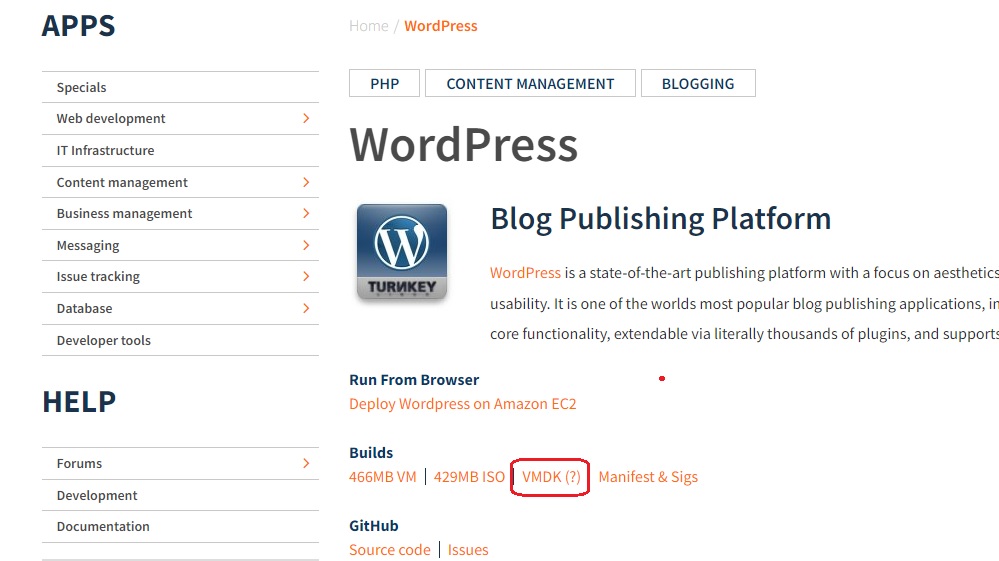
One of the largest free open source libraries of virtual appliances is The Turnkey Linux Virtual Appliance Library. This library contains hundreds of Debian-based VM images, available for free download. One of such appliances contains the whole WordPress installation, and can be downloaded here.
Appliances are usually available in different formats. Since we are going to install the appliance in VMware Workstation Player, we will download the appliance as the zip file that contains the virtual disk and configuration file. So click on the VMDK link to start the installation:
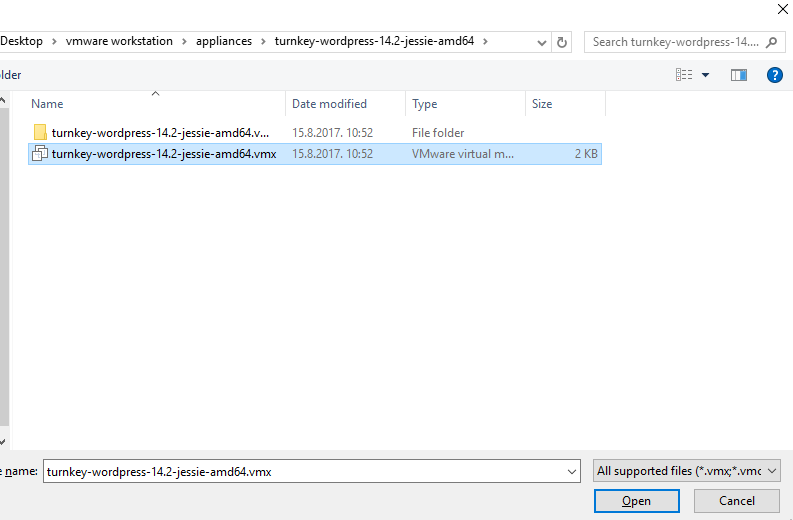
After the download finished, extract the zip file. Next, open VMware Workstation Player and select Player > File > Open. Browse to the location of the extracted .vmx file and click Open:
The VM should appear in the library. Click Play virtual machine to start it.
After you start the appliance, you will be asked a series of questions (the root password, the WordPress admin password…). Answer these questions and the configuration should finish without your further intervention.
After all configuration finishes, the VM will boot into the TurnKey Configuration Console with information about your WordPress installation:
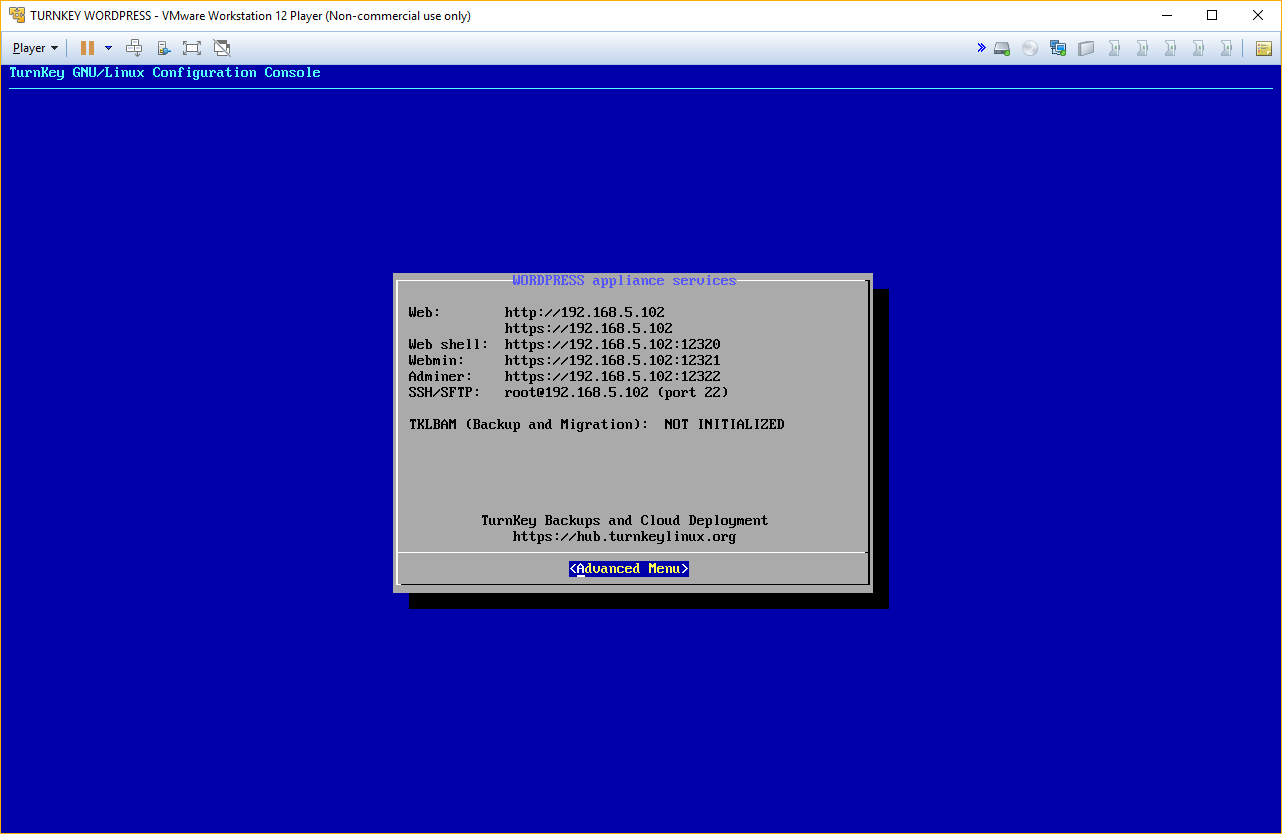
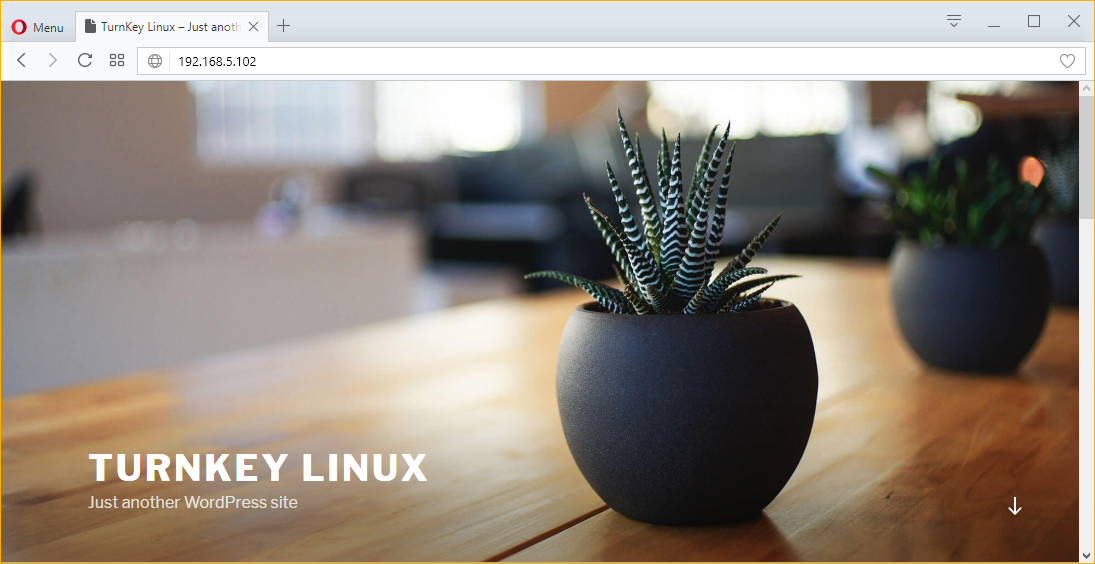
To access WordPress, simply point your browser to the IP address specified in the console: