Adding a floppy drive
It is possible to add up to two floppy drives to a virtual machine in Player. A virtual floppy drive can be configured to connect to a physical floppy drive, an existing floppy image file, or a blank floppy image file.
Here is how you can add a floppy drive to a virtual machine:
1. Power off the virtual machine. A floppy drive can’t be added while the VM is powered on.
2. Select the virtual machine from the Library and go to Player > Manage > Virtual Machine Settings.
3. On the Hardware tab, click Add.
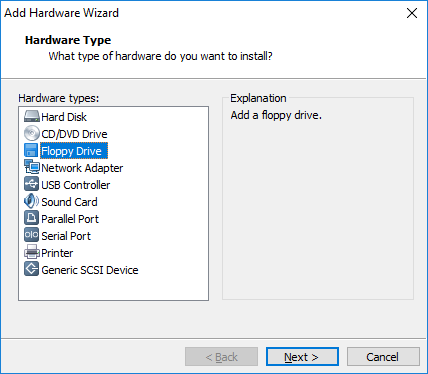
4. The Add Hardware wizard opens. Select Floppy Drive as the hardware type:
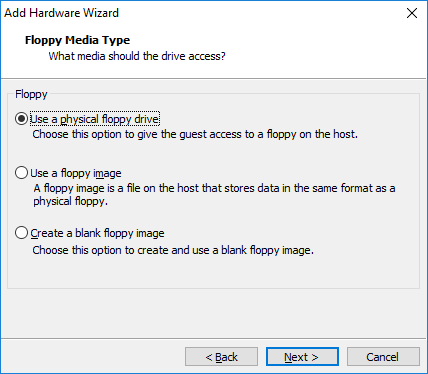
5. Select the floppy media type. Three options are available:
- Use a physical floppy drive – the virtual machine uses a physical floppy drive on the host computer.
- Use a floppy image – the drive connects to an existing floppy image file (.flp).
- Create a blank floppy image – the drive connects to a blank floppy image file (.flp).
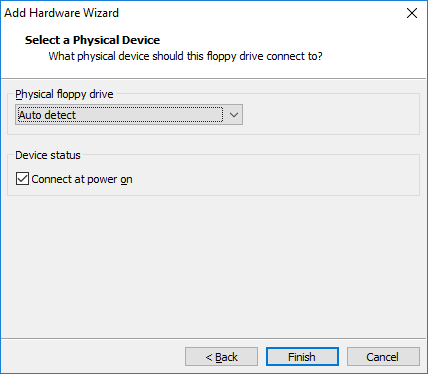
5a. If you’ve selected the Use a physical floppy drive option in the previous step, you need to select the specific floppy drive or select the Auto detect option to allow Player to auto-detect the drive to use. To connect the drive to the virtual machine when the virtual machine is powered on, check the Connect at power on option:
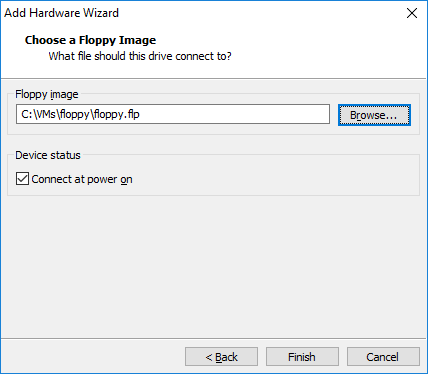
5b. If you’ve selected the Use a floppy image or Create a blank floppy image option in the previous step, you will need browse to the location of the floppy image file on the host system (or specify where the blank image will be stored, in case you’ve selected the latter option):
6. Click Finish to add the drive to the virtual machine.
The drive should appear in the guest operating system after you power on the VM: