Installing VMware Tools in Windows
VMware strongly recommends installing VMware Tools in a virtual machine running Windows OS. If you didn’t use the Easy Install option for Windows installation, you can install VMware Tools manually.
Here are the steps:
1. If the virtual machine is turned off, power it on. The guest OS must be running in order to install VMware Tools.
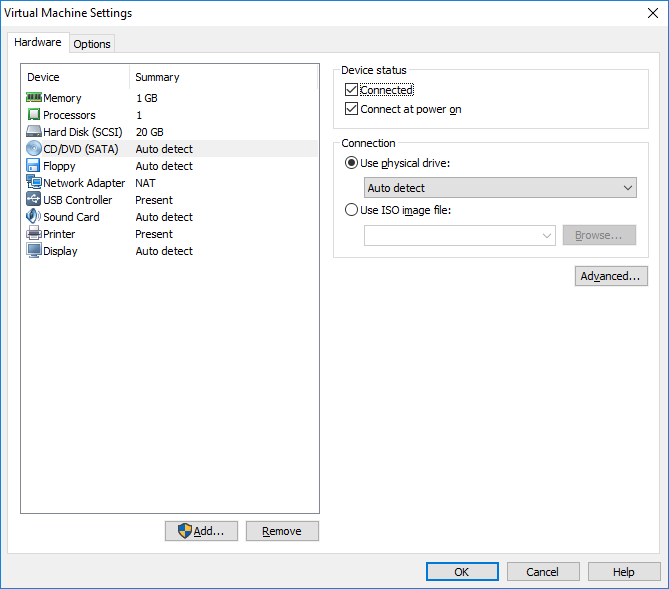
2. Configure the virtual CD/DVD drive to autodetect a physical drive. This enables the virtual machine’s first virtual CD/DVD drive to detect and connect to the VMware Tools ISO file. To do this, go to Player > Manage > Virtual Machine Settings.
Under Hardware, go to CD/DVD and select the Use physical drive option on the right. Make sure that the Auto detect option is selected:
3. Log in to the guest OS as the administrator.
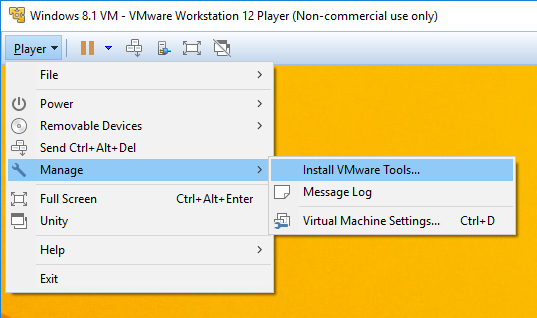
4. From the Player menu bar, select Player > Manage > Install VMware Tools to start the VMware Tools installation:
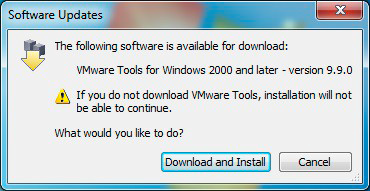
5. Click Download and Install in the Software Updates window that opens:
6. After the download finishes, the AutoPlay window should open. Click on Run setup64.exe to start the VMware Tools installation. If you didn’t get the AutoPlay window, go to D:\setup.exe, where D: is the virtual CD-ROM drive, and run the setup from there.
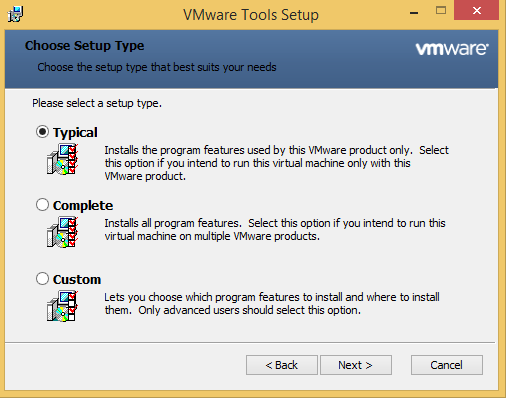
7. Click Next in the Welcome to the installation wizard window. Select the installation type and click Next. The Typical installation option will suffice for most situations. The Complete installation option installs all VMware Tools features, while the Custom installation option lets you decide which features to install:
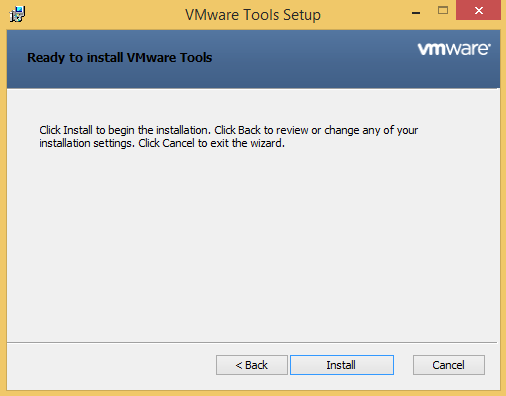
8. Click Install to start the installation process:
9. When prompted, restart the VM’s guest OS.