Configure NAT Networking
If you want to access an external network from a guest, Network Address Translation (NAT) helps you to do so. Usually, it does not require any configuration on the host network and guest system. For this reason, it is the default networking mode in VirtualBox. A guest machine with the NAT mode enabled works similar to a physical host connected to a router. In VirtualBox, this router is placed between each guest VM and the host. This separation ensures security, as the default VMs cannot talk to each other. Guest VMs placed in the NAT mode are invisible and unreachable from the outside network, which means that unless you set up a port forwarding request, you can’t reach it.
When a guest VM OS sends network traffic, the network frames are received by VirtualBox’s NAT engine. Once it receives the frames, the NAT engine extracts the TCP/IP data and resends it using the host OS. So for an application on the same host, or another in the same network, it looks like the data was sent by the VirtualBox application on the host, using an IP address belonging to the same host. VirtualBox listens for replies to the packages sent, and repacks and resends them to the guest machine on its private network. The VM receives its IP and configuration on the private network from a DHCP server built in VirtualBox. The IP address assigned to the VM by the DHCP server is usually on a completely different network than the host. More than one card of a VM can be set up to use NAT.
Here is how you can configure NAT networking for an existing virtual machine in VirtualBox:
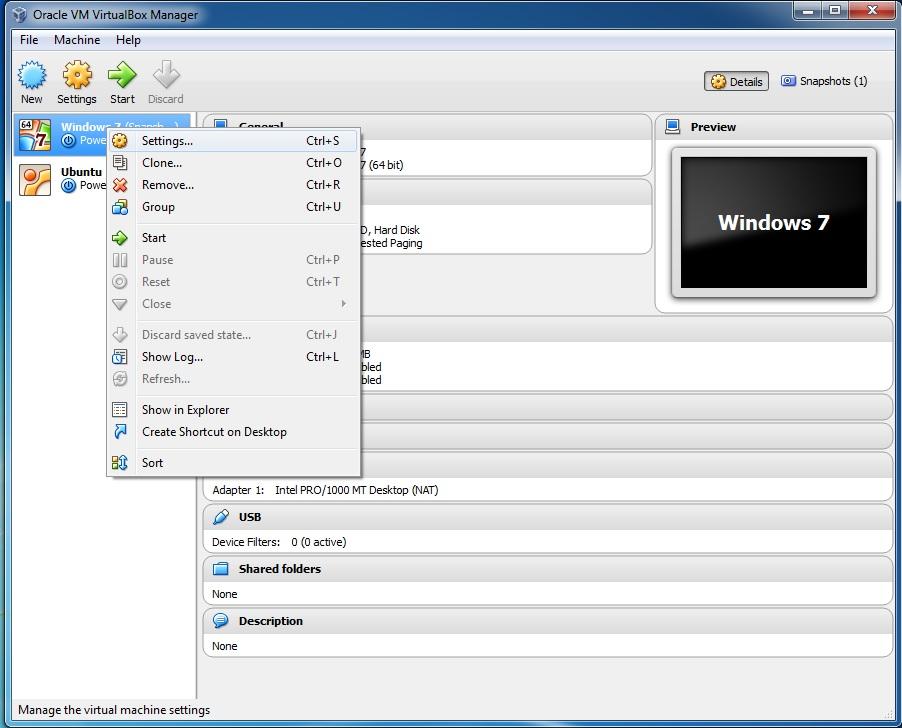
Select the virtual machine from the Oracle VM VirtualBox Manager and select Settings:
On the Network tab, check Enable Network Adapter and select Attached to: NAT:
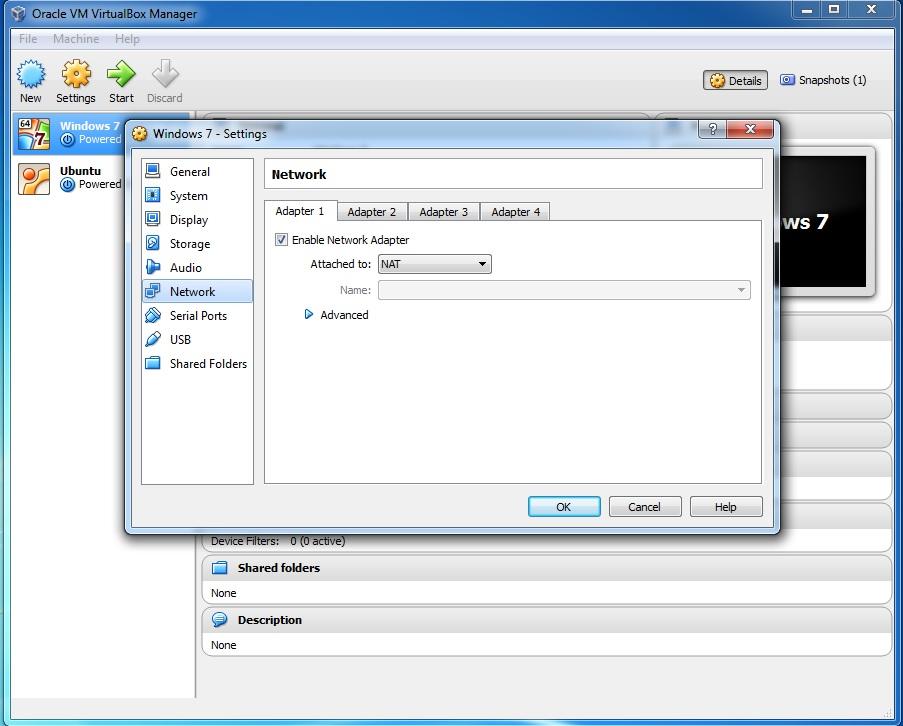
Click OK to save the changes.
