Install Splunk on Windows
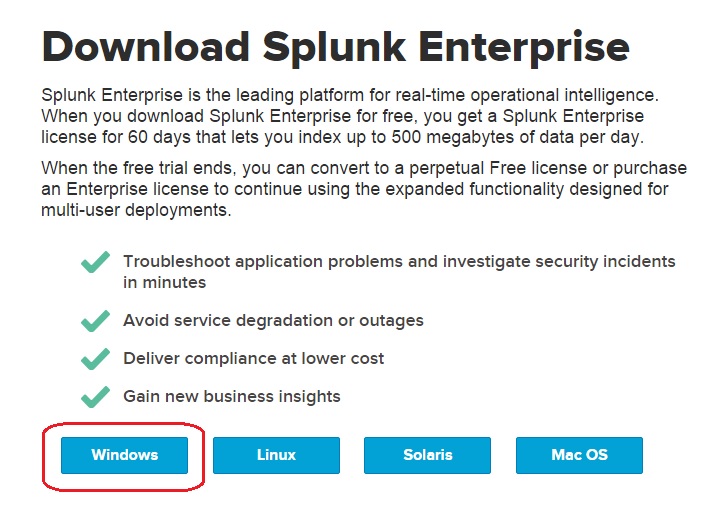
Before installing Splunk Enterprise, you need to download it. Go to the https://www.splunk.com/en_us/download/splunk-enterprise.html and click the Windows button:
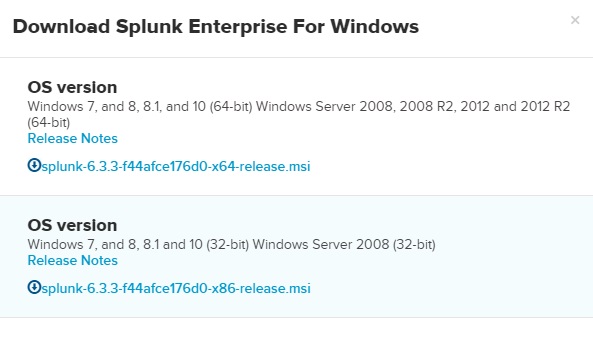
Select whether you would like to install the 32-bit or 64-bit version:
You will be redirected to the login page. If you don’t already have a Splunk account, create one now.
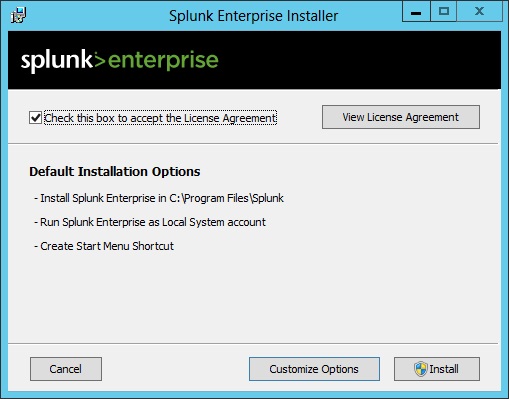
After the download finishes, double-click the installer file. You should get the Splunk Enterprise Installer panel:
You have an option to install with the default installation settings, or configure all settings prior to installing. If you select to install with the default settings, the following actions will be performed:
- Install Splunk Enterprise in \Program Files\Splunk on the system drive.
- Install Splunk Enterprise with the default management and Web ports.
- Configure Splunk Enterprise to run as the Local System user.
- Creates a Start Menu shortcut for the software.
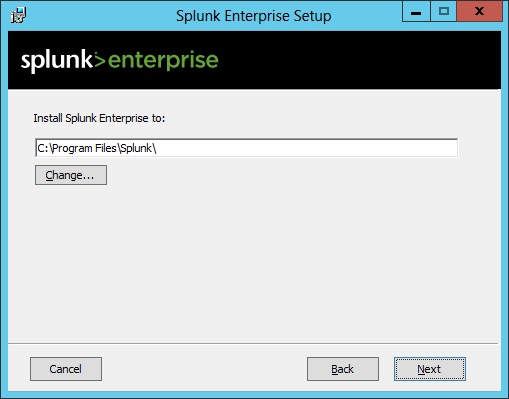
We will choose to customize the installation options. Click the Customize Options button. You will be prompted to choose the installation location:
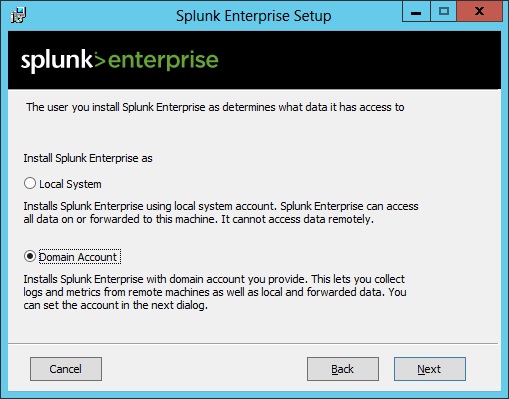
Choose whether to install Splunk using a local system account or a domain account. If you select a local system account, Splunk will be able to collect logs only on the local machine. If you select a domain account, Splunk will be able to collect logs and metric from the local machine and remote machines. We will select a domain account:
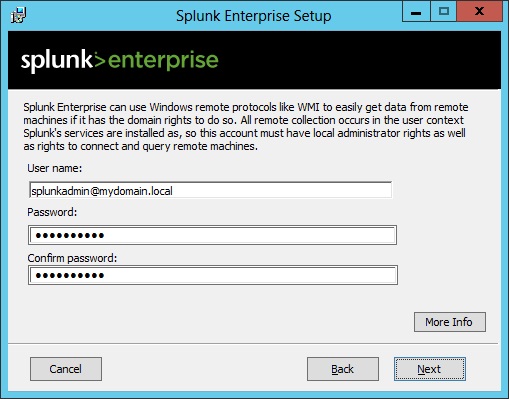
Next, you need to provide the username and password for the domain account that will be used to install Splunk. Make sure that the following requirements have been met:
- the user must be a member of the Active Directory domain or forest that you want to monitor.
- the user must be a member of the local Administrators group on the server on which you install Splunk Enterprise.
- the user needs to have specific user security rights assigned.
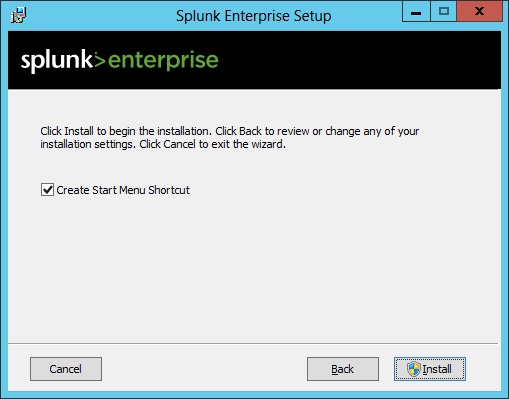
Select whether to install a shortcut in the Start Menu and click Install to begin with the installation:


