Install a Splunk forwarder on Windows
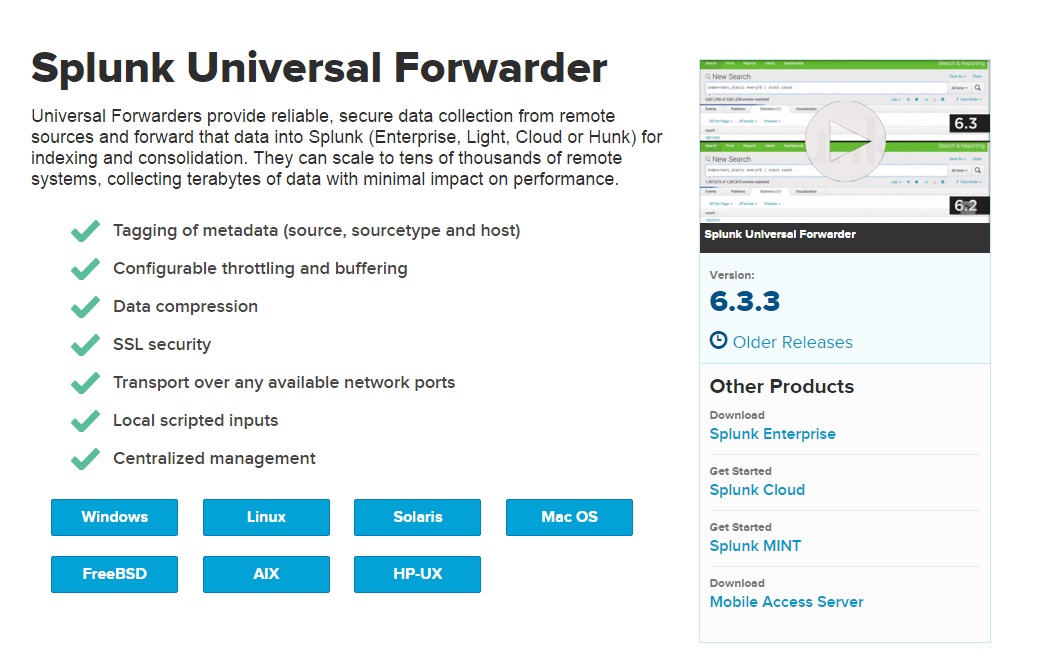
To install a Splunk forwarder, you need to download it first. Go to https://www.splunk.com/en_us/download/universal-forwarder.html and choose the forwarder for your operating system:
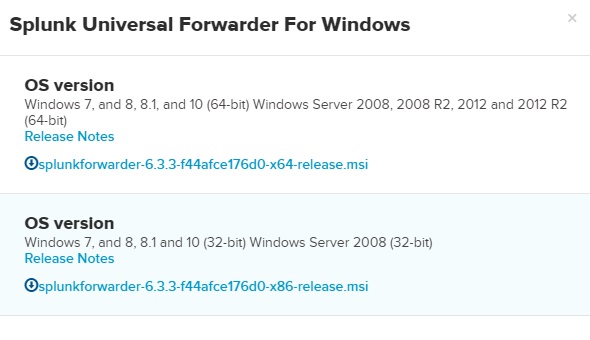
Choose the right OS version:
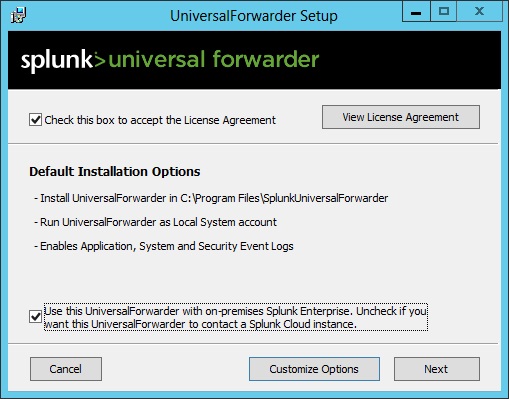
In this example we will install a Splunk forwarder on Windows Server 2012. Start the installation by double-clicking the installer file. You should be greeted with the Setup page. Here you can accept the default options or customize the options. By default, the universal forwarder will be installed in C:\Program Files\SplunkUniversalForwarder\, use a local system account, and collect the Application, System, and Security Windows Event logs:
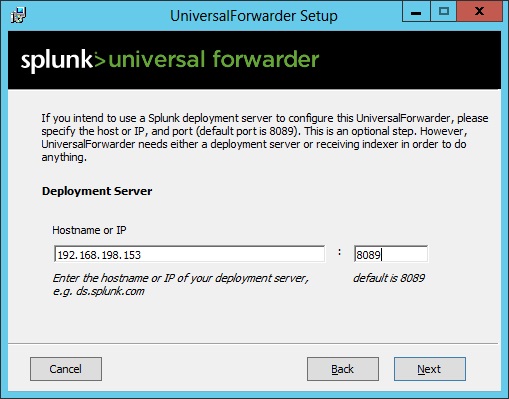
Next, you need to enter the hostname or IP address and management port of your deployment server (the default management port is 8089). The deployment server can be used to push configuration updates to the universal forwarder. Note that this is an optional step; if you skip it, you should enter a receiving indexer in the next step.
Enter the hostname or IP address and receiving port of your indexer (the default port is 9997):

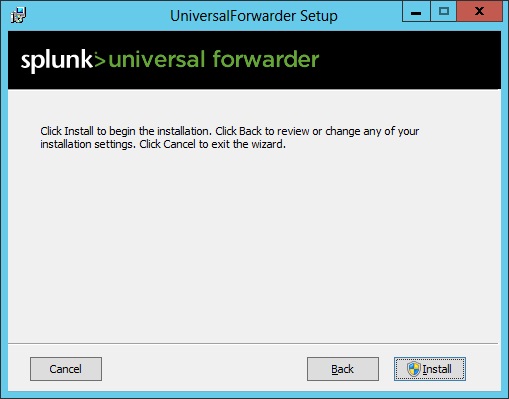
Click Install to begin with the installation:
Once the installation is complete, the universal forwarder should automatically start.