Enable quota support
Three steps are required to enable quota support in Linux:
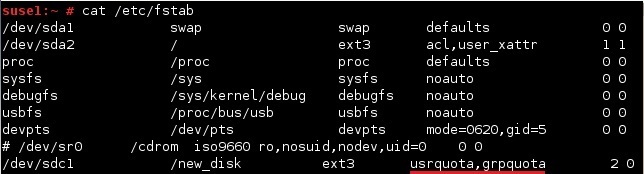
1. modify the /etc/fstab file – the first step is to add the usrquota (for user disk quotas) and grpquota (for group disk quotas) options to this file. For example, to enable both user and group quotas for the /dev/sdc1 file system, the entry in the /etc/fstab file should be as follows:
2. remount the file system – the second step is to unmount the file system and then remount it with the mount and umount commands:
![]()
3. create quota files – the last step is to run the quotacheck command. This command scans the file systems that are quota enabled and builds a table of the current disk usage of the file systems. This command accepts a couple of options:
- -c – performs a new scan and saves the file to the hard disk.
- -u – specifies only user quotas.
- -g – specifies only group quotas.
- -a – checks all locally mounted, quota-enabled partitions.
Here is an example of the quotacheck command:
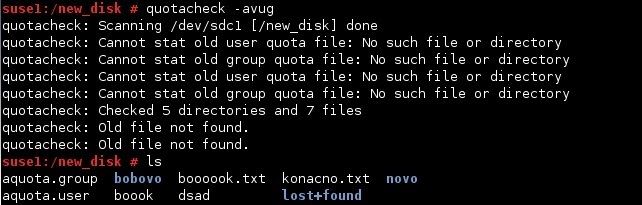
As you can see in the output above, the quotacheck command created the aquota file for user and group under the filesystem directory.
