Install Ekiga on Ubuntu
After we’ve configured SIP channels in Asterisk, we need to configure the phones themselves to communicate with Asterisk. To make things simpler and enable you to follow along even if you don’t have a physical VoIP telephone, I will show you how you can install and use softphones. Softphones are applications that you install on your computer to be able to make VoIP calls, even if you don’t have a physical VoIP phone.
One of the applications I will be using is called Ekiga, a free and open source VoIP application. This application has a nice GUI and support features such as call hold, call transfer, and video calls.
I will install Ekiga on a different system that the one that is hosting my Asterisk installation. Since we need a GUI environment, I will show you how to install Ekiga on an Ubuntu machine.
Start the installation by running the following command:
sudo apt-get install ekiga
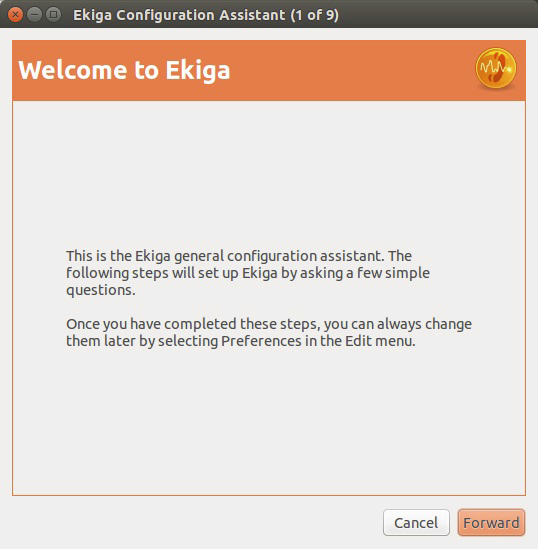
Start Ekiga by entering the sudo ekiga command in the terminal. You should be greeted with the following screen:
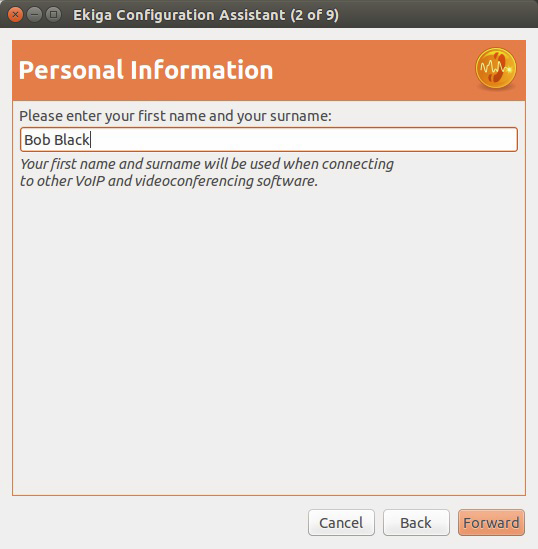
Enter your firstname and surname:
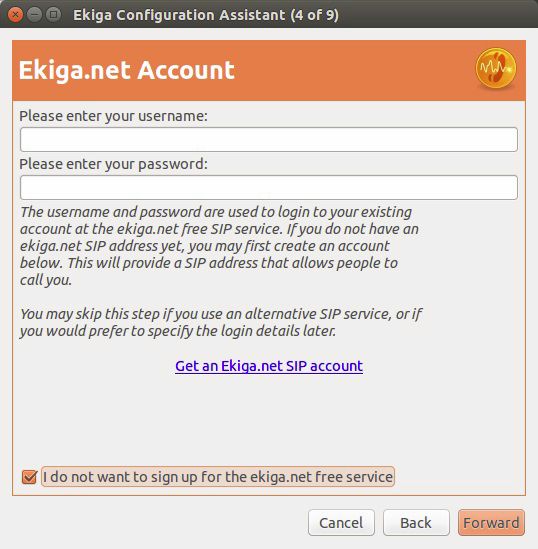
Click Forward on the next screen. Check the checkbox at the bottom and click Forward:
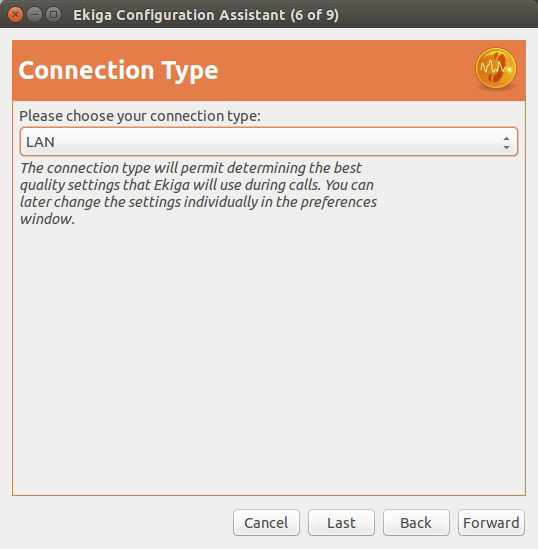
Do the same for the next window as well. Choose your network type so that Ekiga can select the optimal codec that is suited to your network connection:
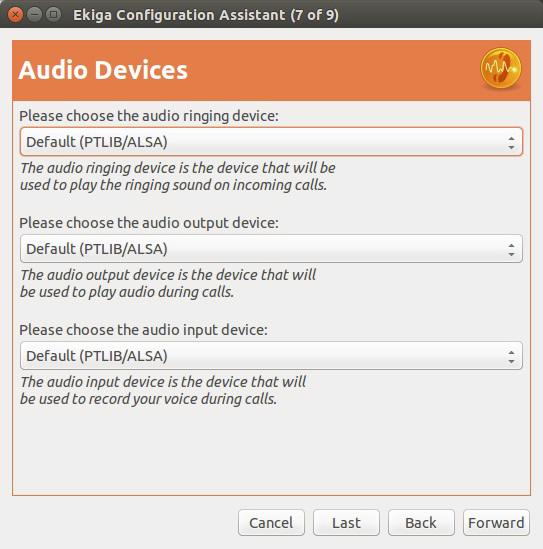
Next, select your audio devices. In most cases, you can leave the defaults:
Since Ekiga can also be used for video calls, you can choose the video input device as well:

Click Apply to finish the setup.