Configuring hardphones
There are a couple of ways of configuring a hardphone with parameters needed to connect to Asterisk – using the phone user interface, using the web-based interface, or using configuration files stored on a configuration server (this is usually the same server that hosts the Asterisk installation).
The simplest way to configure a telephone is to use a browser and connect to the phone’s web interface. Here is how this can be done on Yealink SIP-T20P:
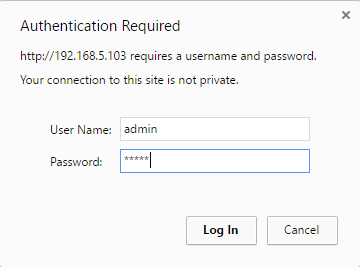
1. The phones usually get their TCP/IP parameters from a DHCP server on the network. The DHCP server sometimes run on the same server that Asterisk is installed on. To access the phone’s web interface, I need to enter the phone’s IP address in my browser. When prompted for a password, I will provide the user credentials (on Yealink phones, the defaults are admin/admin):
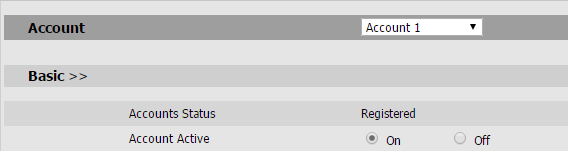
2. Next, I will select the Account tab. This opens up a configuration window where I can enter the parameters needed to connect the phone to my Asterisk server:

3. As you can see in the picture above, I’ve entered the following parameters:
- Account Active – On enables the account.
- Label – the value that is shown on the phone’s LCD to identify the account.
- Display Name – the value is shown as caller ID when placing a call.
- Register Name – the username used to authentication to the Asterisk server.
- User Name – the same as above.
- Password – the password used to authenticate to the Asterisk server.
- SIP Server – the Asterisk host.
4. Of course, the device parameters need to be created in the sip.conf file also. Here is the configuration I’ve created in sip.conf to allow the phone to register:
[george]
type=friend
context=local
allow=ulaw,alaw
secret=verysecret1
host=dynamic
5. Once I’m done, I can see that the Register Status is listed as Registered:
I can also run the show sip peers command to verify that the phone is indeed registered on my system: