vSphere Web Client installation
vSphere Web Client is a cross-platform web application that enables you to connect to a vCenter Server system to manage ESXi hosts. You can install it using VMware vCenter Server Installer. Note that vCenter Single Sign-On (SSO) is a prerequisite.
Here are the steps for installing vSphere Web Client using the Custom Install method:
1. Go to the location of the vCenter Server installation software and double-click autorun.exe.
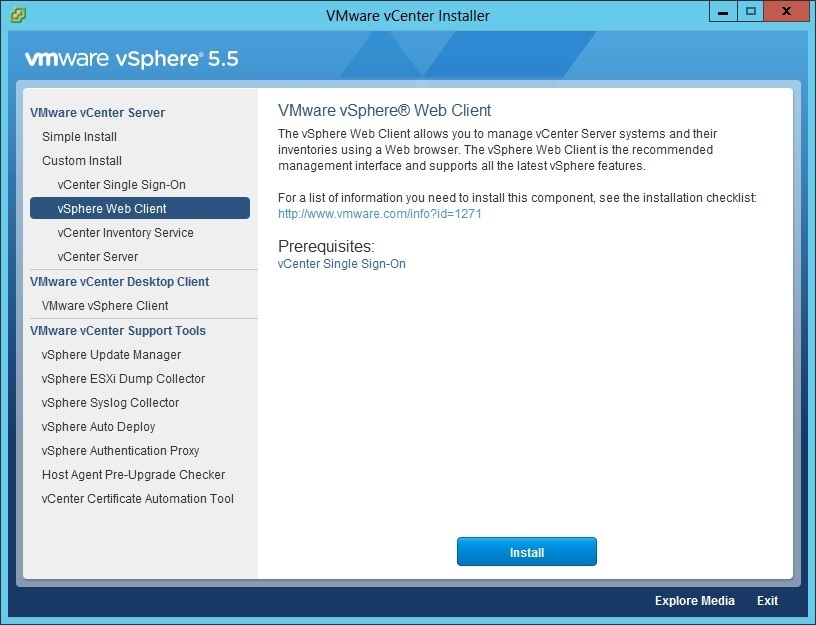
2. In the VMware vCenter Installer window, select vSphere Web Client and click Install:
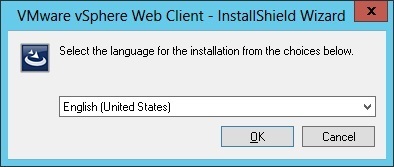
3. Select the installation language:
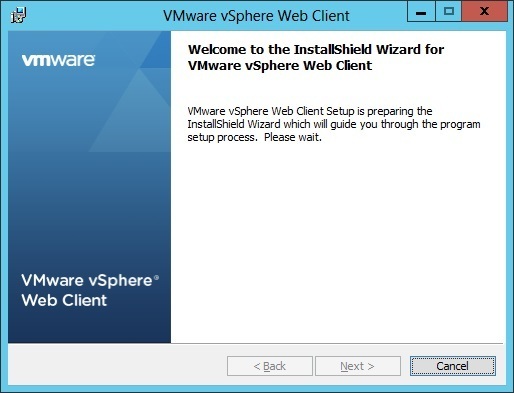
4. Click Next on the Welcome page:
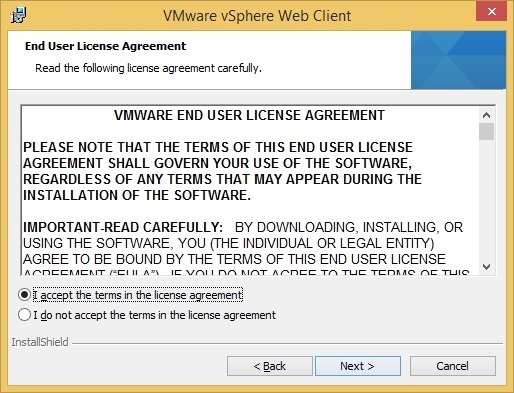
5. Select “I accept the terms in the license agreement” and click Next:
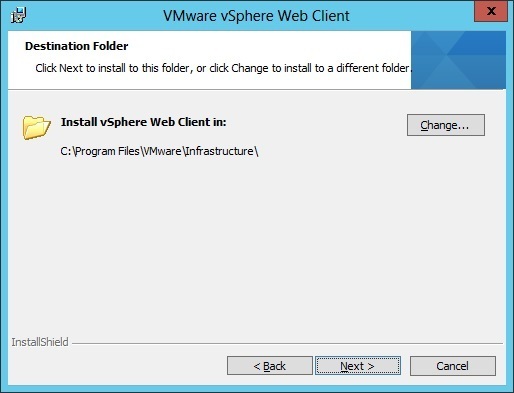
6. Choose the installation folder:
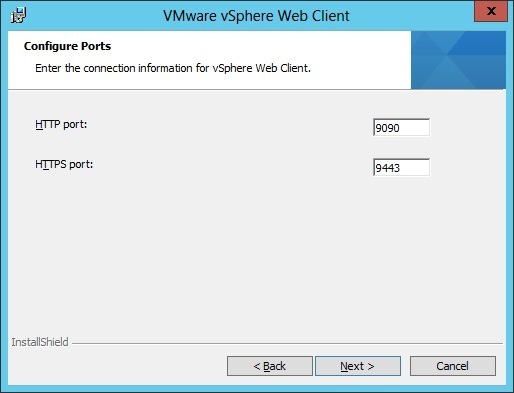
7. Enter the connection information for vSphere Web Client. Make sure that the ports in question are not already used:
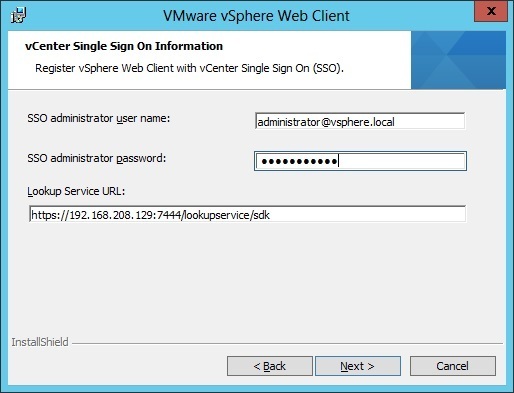
8. Enter the SSO administrator username and password and SSO Lookup Service URL. The administrative user account is the administrative account used in vsphere.local, a domain used internally by vSphere that you’ve created during the vCenter SSO installation. The Lookup Service URL takes the form https://SSO_host_FQDN_or_IP:7444/lookupservice/sdk, where SSO_host_FQDN_or_IP is the system on which the SSO is installed on and 7444 is the default vCenter Single Sign-On HTTPS port number:
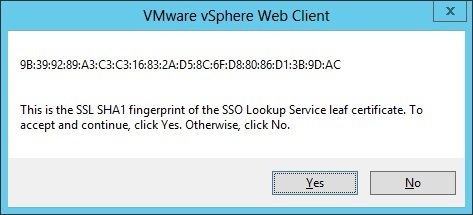
9. Review the SSL fingerprint of the SSO Lookup Service certificate and click Yes:
10. Review the certificate information and click Install Certificates.
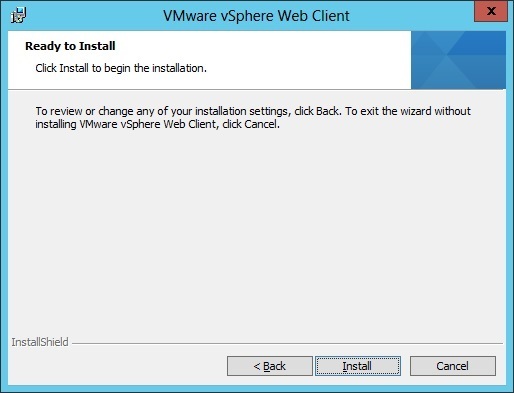
11. Click Install to begin the installation: