Remove virtual machine
Two options are available to remove a virtual machine in vSphere:
- Remove from Inventory – this option unregisters the VM from the host and the vCenter Server inventory, but the VM’s files remain on the datastore. You can later re-register the VM to the inventory.
- Delete from Disk – this option removes the VM from the inventory and delete its files from the datastore.
Here is how you can remove a VM from the inventory using vSphere Web Client:
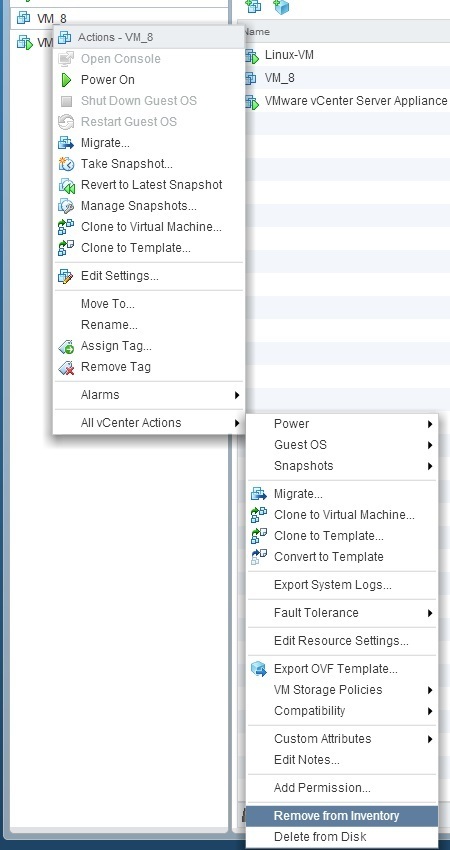
1. To only remove a VM from the inventory, right-click the VM and select All vCenter Actions > Remove from Inventory:
2. Click Yes to confirm the removal:

3. The VM will no longer be present in the inventory:

You can re-register the VM back to the inventory:
1. Browse to the location of the VM’s .vmx file on the datastore. Right-click the file and select the Register VM option.
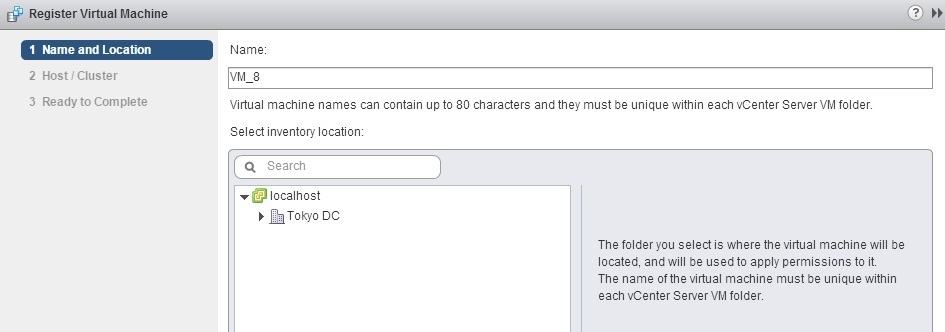
2. The Register Virtual Machine wizard opens. Select the inventory location:
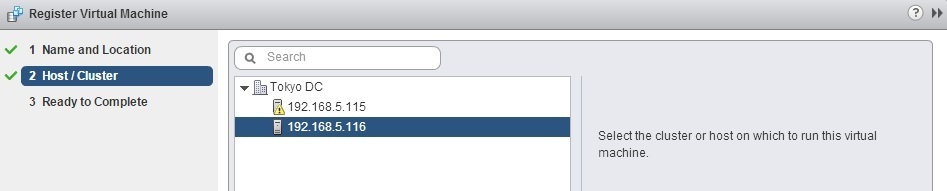
3. Select the ESXi host on which the VM should run:
4. Review the settings and click Finish:

5. The VM should be back in the inventory:

You can also delete a VM from the inventory and delete its files from the datastore:
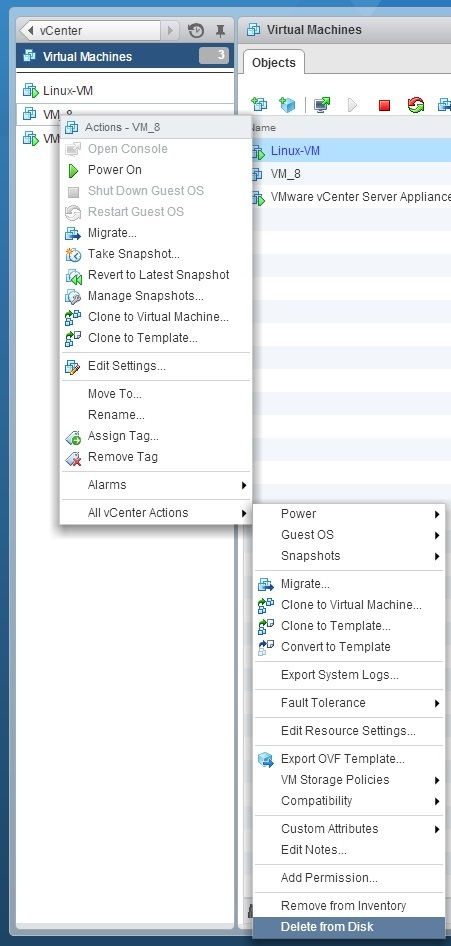
1. Right-click the VM and select All vCenter Actions > Delete from Disk:
2. Click Yes to confirm the deletion:

3. The VM will no longer be present in the inventory or on the datastore. Note that this action is irreversible.
