vSphere Client installation
vSphere Client is a Windows-only application that allow you to connect directly to an ESXi host or to a vCenter Server instance. You can install this program in two ways:
- using VMware vCenter Server Installer.
- using a web browser to connect to an ESXi host or a vCenter Server instance. You just point your browser to vCenter Server or an ESXi host and you will be greeted by the Welcome page. From there, just click the Download vSphere Client link. Note that the Internet connection may be required in order to proceed with the installation.
Here is how you can install vSphere Client using the vCenter Server installation media:
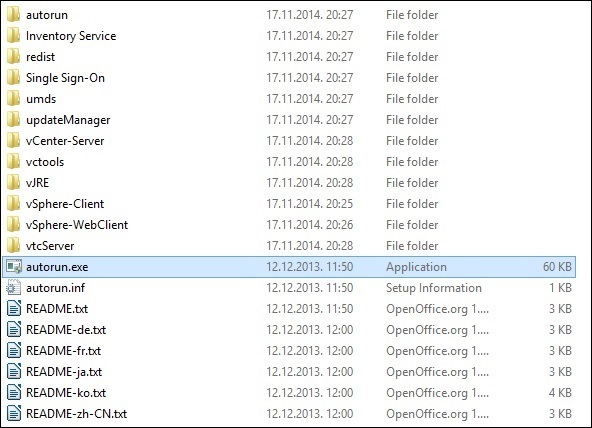
1. Go to the location of the installation software and double-click autorun.exe:
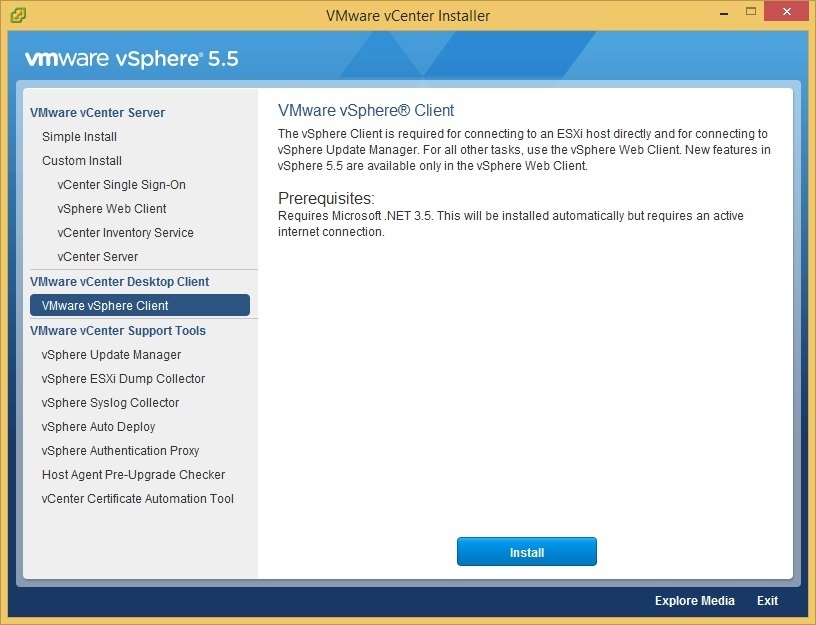
2. In the VMware vCenter Installer window, click VMware vSphere Client:
3. Click Install to start the installation wizard.
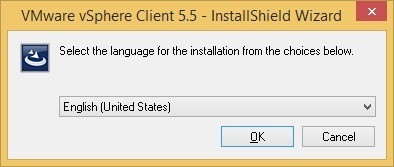
4. Select the language for the installation and click OK:
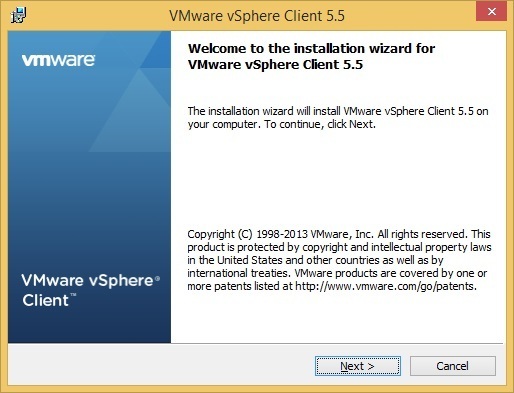
5. Click Next on the welcome page:
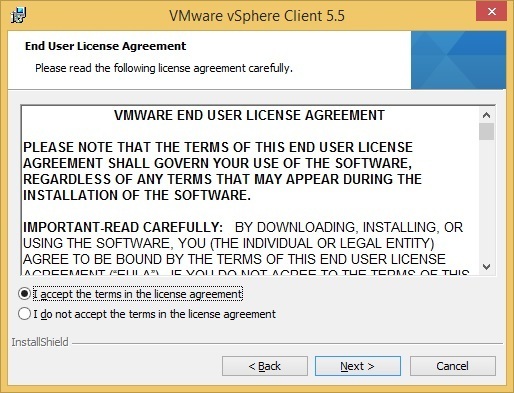
6. Select I accept the terms in the license agreement and click Next:
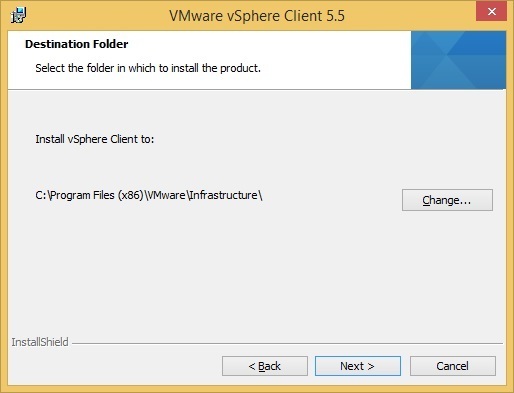
7. Configure the destination folder and click Next:
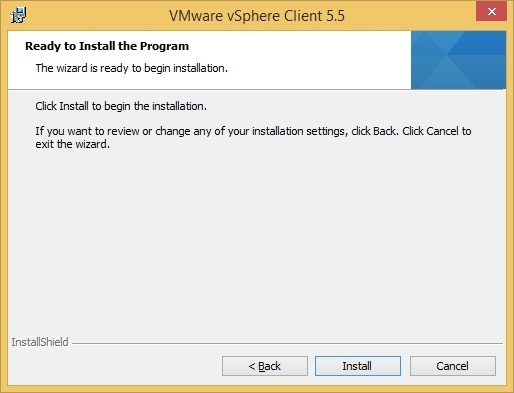
8. Click Install to begin with the installation:
Log in to an ESXi host with the vSphere Client
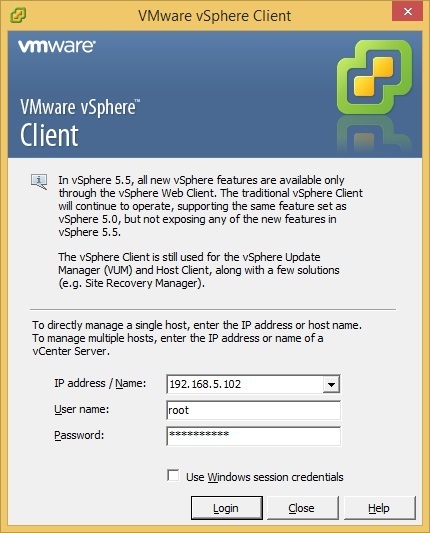
To log in to your ESXi host using vSphere Client, double-click the vSphere Client icon on the Desktop. In the window that opens, enter the IP address or host name of your ESXi host:
Log in to the system using the root account and password you set up during the ESXi installation.
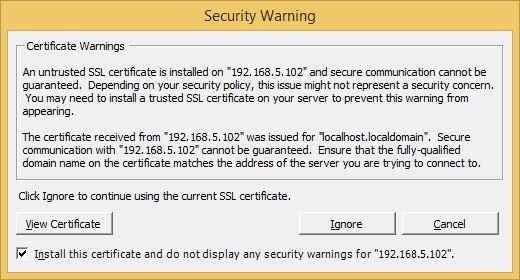
Select Install this certificate and do not display security warnings for “<host_name>” and click Ignore:
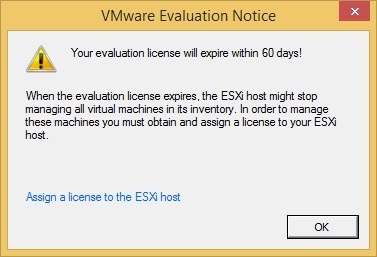
If the VMware Evaluation Notice dialog box is displayed, click OK:
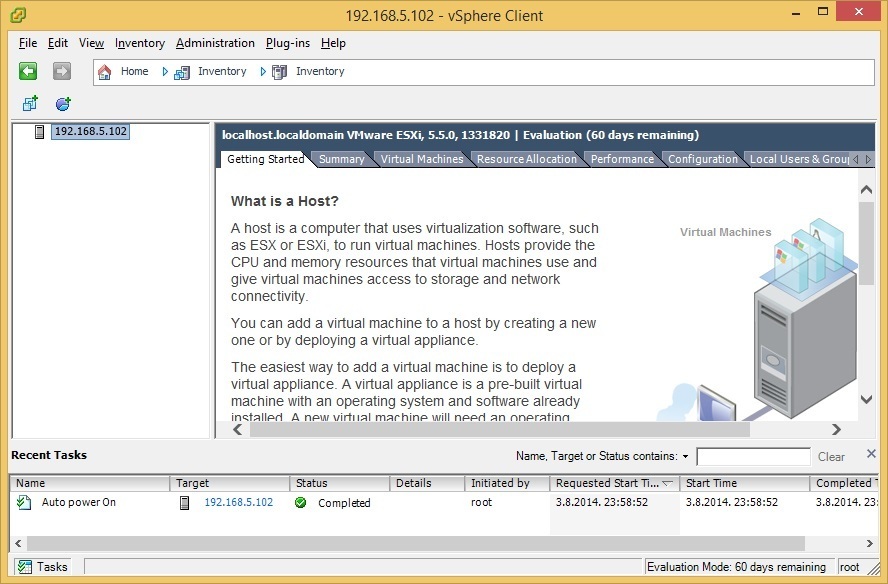
In the Inventory pane, click Inventory. Your ESXi host should be displayed at the top of the inventory view on the left side of the window:
Now you can use vSphere Client to manage your ESXi host.


