VMware Tools Windows installation
You can use both vSphere Client and vSphere Web Client to install VMware Tools into a virtual machine running Windows. Here are the steps to install VMware Tools into Windows 7 running as a guest OS in a VM using vSphere Web Client:
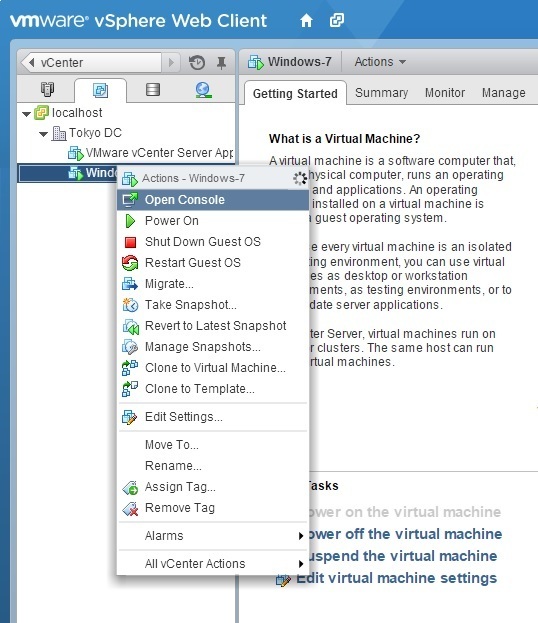
1. Connect to a vCenter Server. Go to Home > Hosts And Clusters or Home > VMs And Templates to locate the virtual machine you would like to install VMware Tools into. Right-click the VM in the inventory tree and select Open Console:
2. Log into the guest OS.
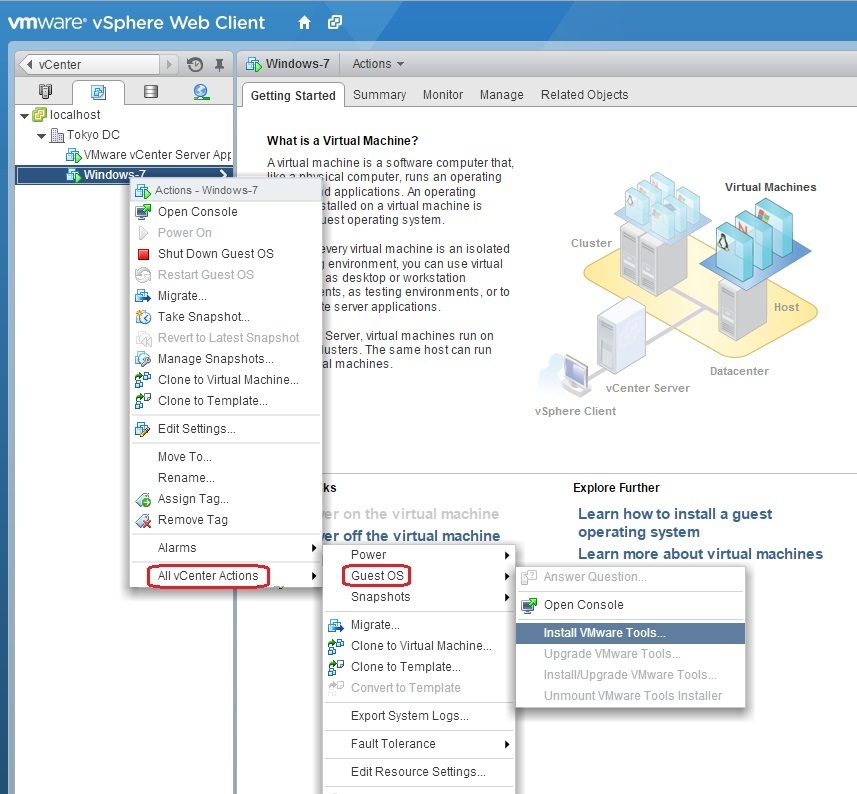
3. Back in vSphere Web Client, right-click the virtual machine and select All vCenter Actions > Guest OS > Install VMware Tools.
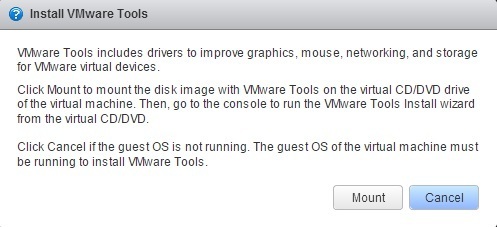
4. Click Mount to mount the VMware Tools ISO:
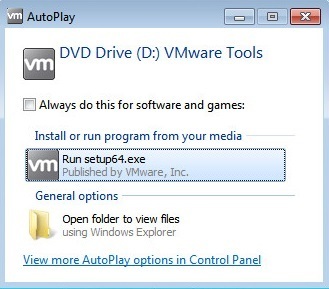
5. Back in the virtual machine console, click Run setup64.exe if the AutoPlay dialog box appears. If the AutoPlay dialog box does not appear, open Windows Explorer and double-click the CD/DVD drive icon. The AutoPlay dialog box should then appear:
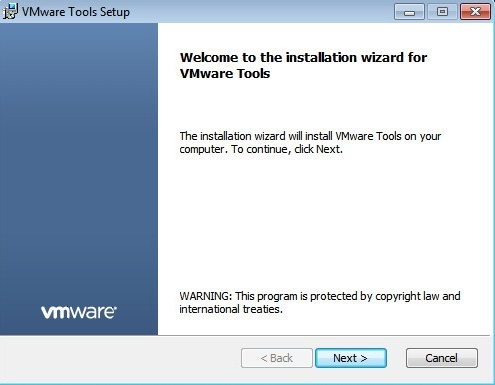
6. Click Next on the Welcome to the installation wizard for VMware Tools page:
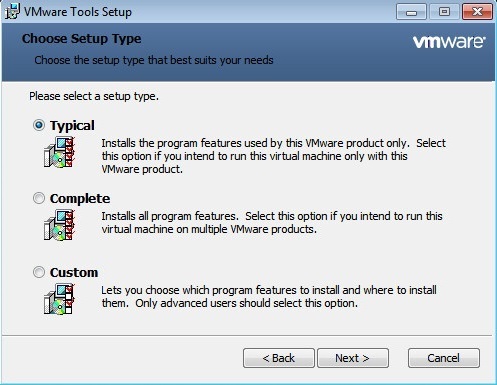
7. Select the appropriate setup type for the VMware Tools installation, and click Next. The Typical installation option will suffice for most situations. The Complete installation option installs all available features, while the Custom installation option lets you choose which features to install:
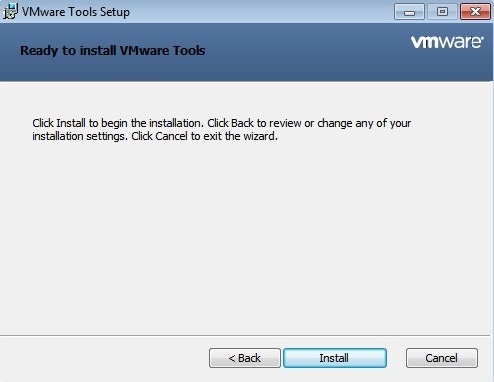
8. Click Install to begin the installation:
9. After the installation is complete, click Finish:

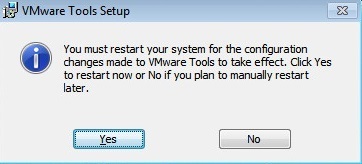
10. Click Yes to restart the VM immediately, or click No and restart the VM later: