Create vApp
You must have vCenter Server installed in order to create vApps. Here are the steps to create a vApp using vSphere Web Client:
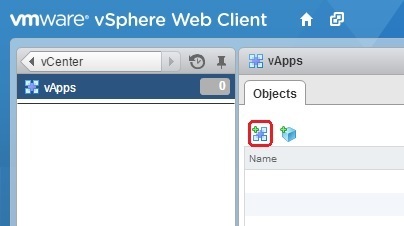
1. Go to vCenter > vApps and click on the Create a New vApp icon:
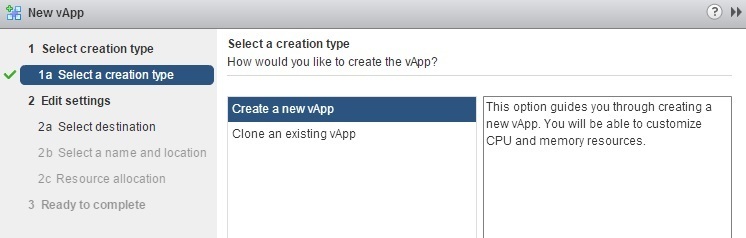
2. The New App wizard opens. Select the Create a new vApp option and click Next:
3. Select the ESXi host or cluster on which the vApp will run:

4. Enter the vApp name and select the folder or datacenter where the vApp will be located:

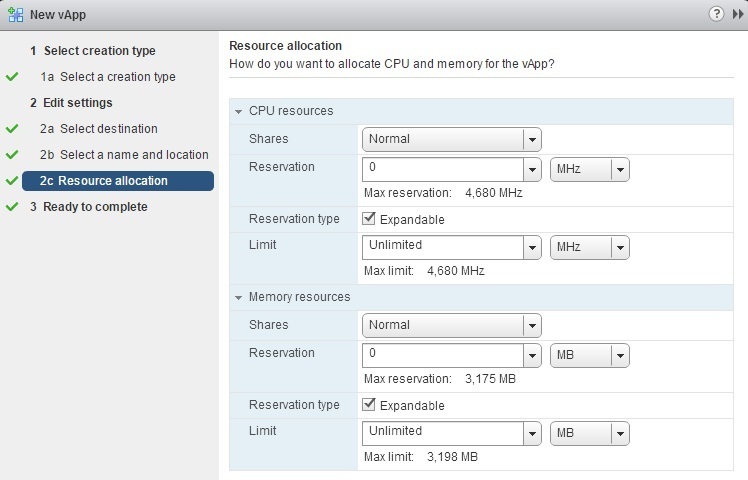
5. Choose the resource allocation settings for the vApp. By default, a new vApp will be given a normal priority, no reservation, and no limit on CPU or memory usage:
6. Review the settings and click Finish to create a vApp:
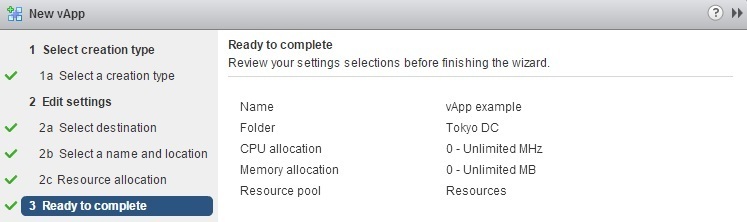
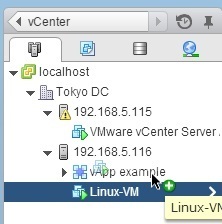
The vApp should appear in the inventory:
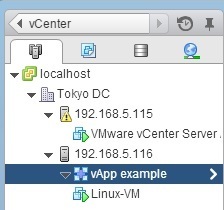
To make use of a vApp, you need to add objects to it. Objects that can be added are virtual machines, resource pools, and other vApps. For example, to add a virtual machine to the vApp you’ve just created, simply drag it into the vApp: