vCenter Server Appliance configuration
vCenter Server Appliance should get an IP address from an DHCP server in your network. If there are no DHCP servers in your network, you will need to configure the IP address manually. If you have a DHCP server, feel free to skip to the next lesson.
Here are the steps to manually configure an IP address on your vCenter Server Appliance:
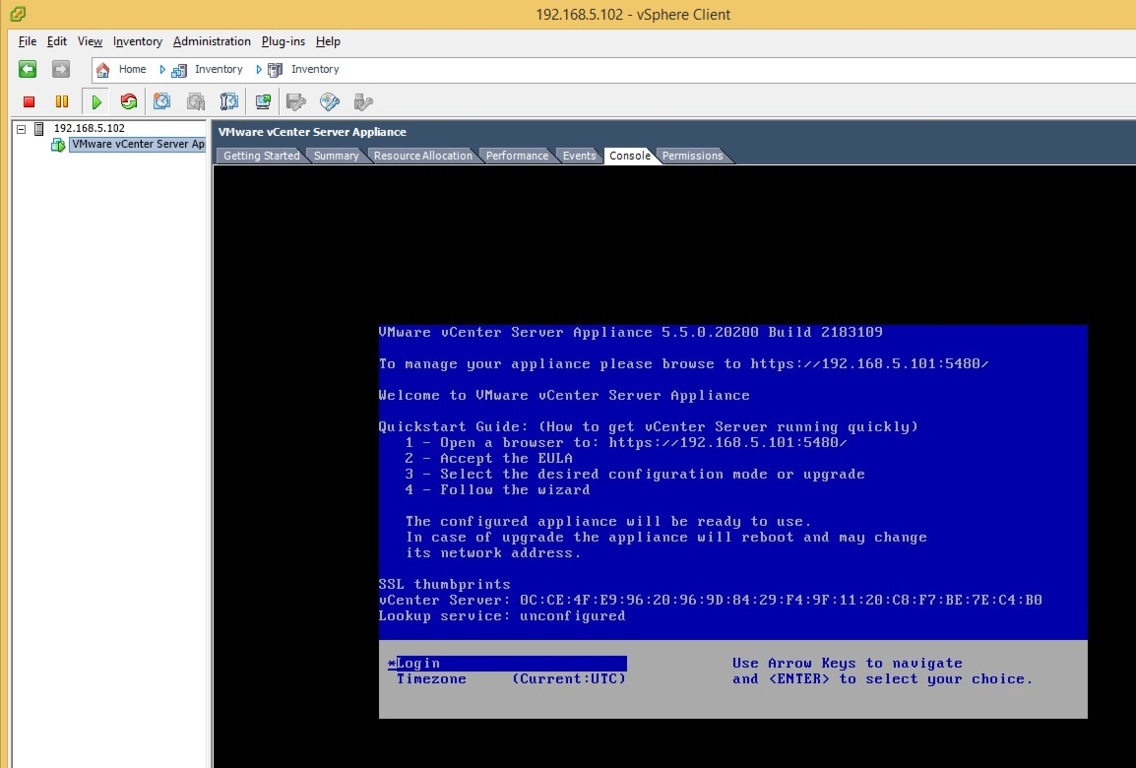
1. Open the virtual machine console from your vSphere Client:
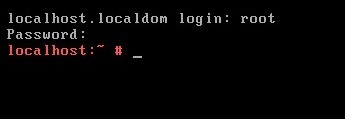
2. Select the Login option and provide the following credentials:
- username: root
- password: vmware
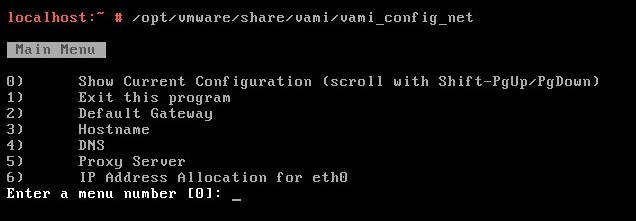
3. Type /opt/vmware/share/vami/vami_config_net and press Enter. A prompt-driven network configuration script should start:
4. Use the menu 6 to enter an IP address.
5. Use the menu 2 to enter the default gateway.
6. Use the menu 4 to enter the IP addresses for a primary and secondary DNS servers.
7. Use the menu 3 to supply the fully qualified domain name for the virtual appliance.
8. Use the menu 0 to review the network configuration, and press 1 to exit if it is correct.
9. Type exit and press Enter at the command prompt.
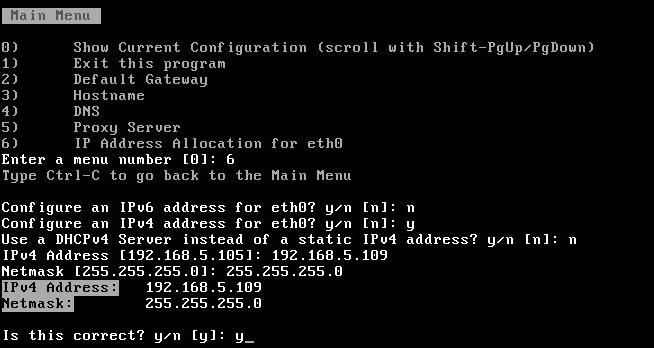
For example, to configure an IP address, use the menu 6. This opens a little wizard that guides you through the process of IP address configuration:
Connect to the Web Interface
To finish the vCenter Server Appliance configuration, open a web browser and navigate to https://[APPLIANCE_NAME_OR_IP_ADDRESS]:5480. Log in to the appliance by using the username root and the password vmware.
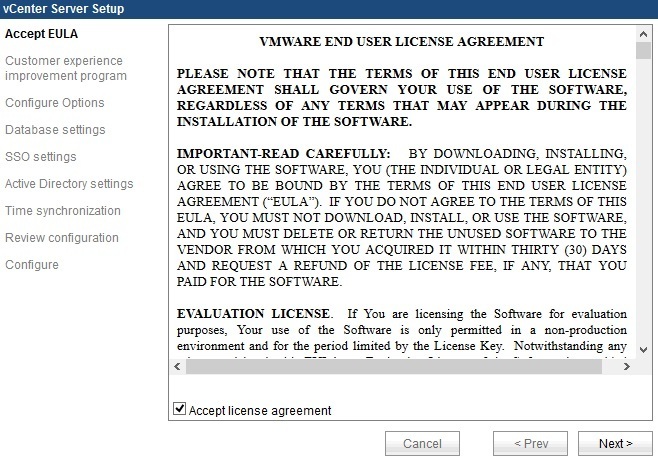
Accept the EULA:
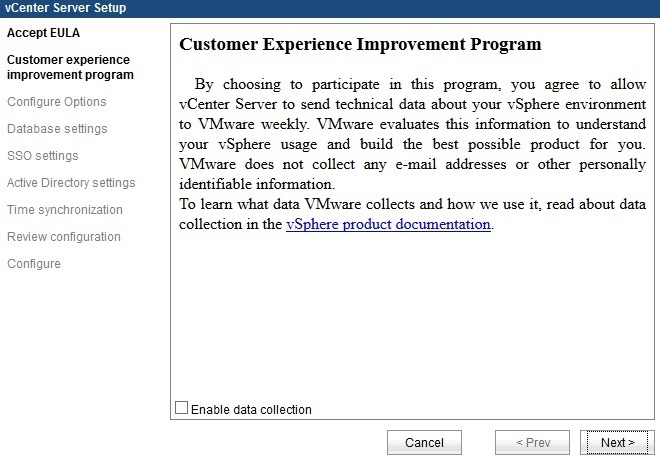
Select whether you want to allow vCenter Server Appliance to send technical data to VMware and click Next:
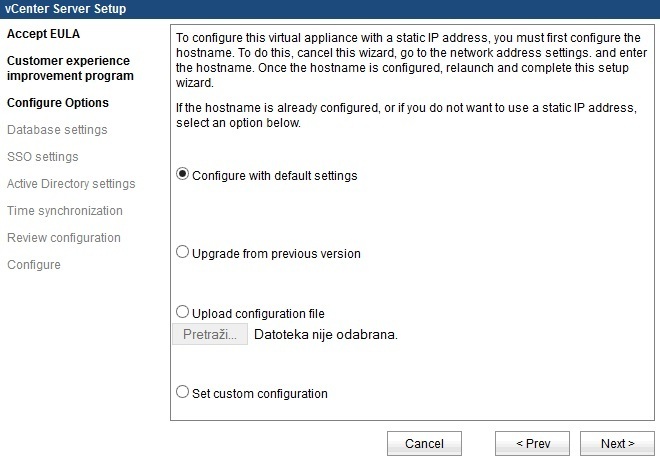
In the next screen, select Configure with default settings if you don’t want to assign a static IP address to your appliance and configure options such as SSO and database settings. You can configure these settings later.
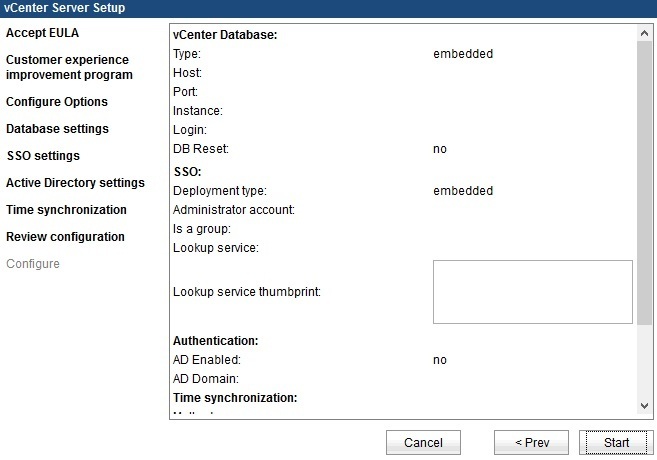
Review the configuration details and click Start:
You can now connect to your vCenter Server instance using the following URL:
https://[APPLIANCE_NAME_OR_IP_ADDRESS]:9443/vsphere-client
Use the username root and password vmware to log in.


