Record pictures and videos
One of the most common accessories used with the Raspberry Pi is the camera module. This small PCB (Printed Circuit Board) camera is capable of capturing 5 mega pixel pictures and 1080p video footage. You can buy it from official Raspberry Pi distributors, for example from here:
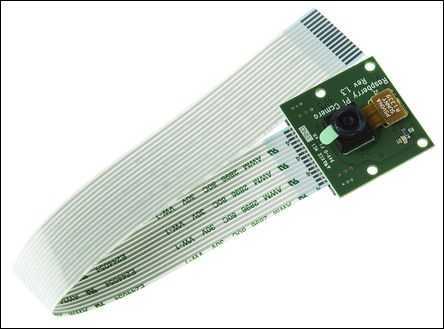
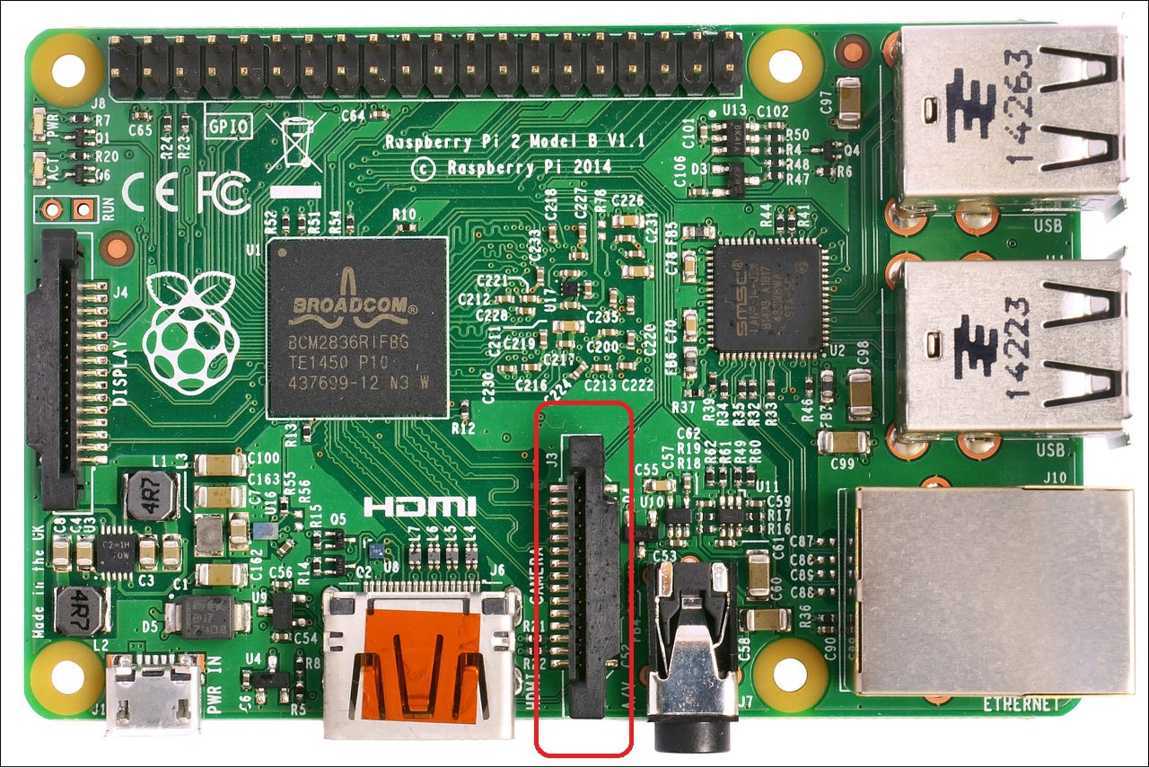
The Raspberry Pi camera module attaches via a 15cm ribbon cable into the CSI connector on your Raspberry Pi, located between the Ethernet and HDMI ports. The silver connectors are facing the HDMI port:
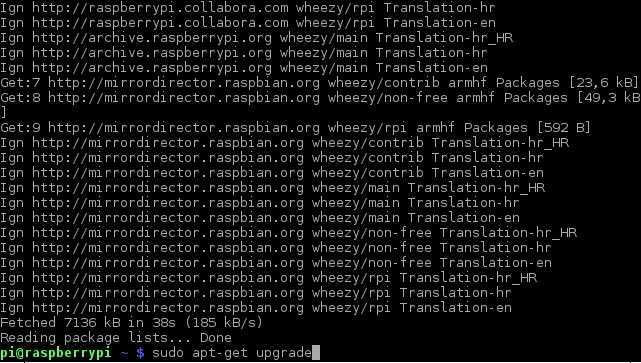
Once you’ve connected the camera module, turn on your Raspberry Pi and start the terminal (the third icon on the right of the Menu bar). Make sure you are using the latest version of Raspbian by running the sudo apt-get update and sudo apt-get upgrade commands:
The next step is to enable your camera module.
To take a picture with your camera, you can use a command-line tool called raspistill. Type raspistill -o picture.jpg:
![]()
To record a video, we can use a similar tool called raspivid. The command is raspivid -o video.h264:
![]()
This command will take five seconds of video. The video will be named video.h264 and you can play it in a video player such as omxplayer.