Script that takes a picture
To simplify the process of taking pictures with your Raspberry Pi, you can create a simple script that will take a picture and name it with a timestamp. Here is how it can be done:
1. Open the terminal (the third icon on the right of the Menu bar). First you will need to create a folder where you will save our pictures. You can do this with the mkdir command:

2. Now, open up the nano text editor (or other text editor of your choice). Enter the following text:
#!/bin/bash
DATE=$(date +%Y-%m-%d_%H%M)
raspistill -vf -hf -o /home/pi/pics/$DATE.jpg

The code above will take the picture and named it with a timestamp. Save the file (Ctrl + o) and exit the program (Ctrl + x).
3. To make the script work, you need to make it executable. This is done using the chmod +x FILENAME command:
![]()
4. Now you can run your script. You can do this simply by specifying its full path:
![]()
In the picture above you can see that the script has taken a picture and named it using the current date and time.
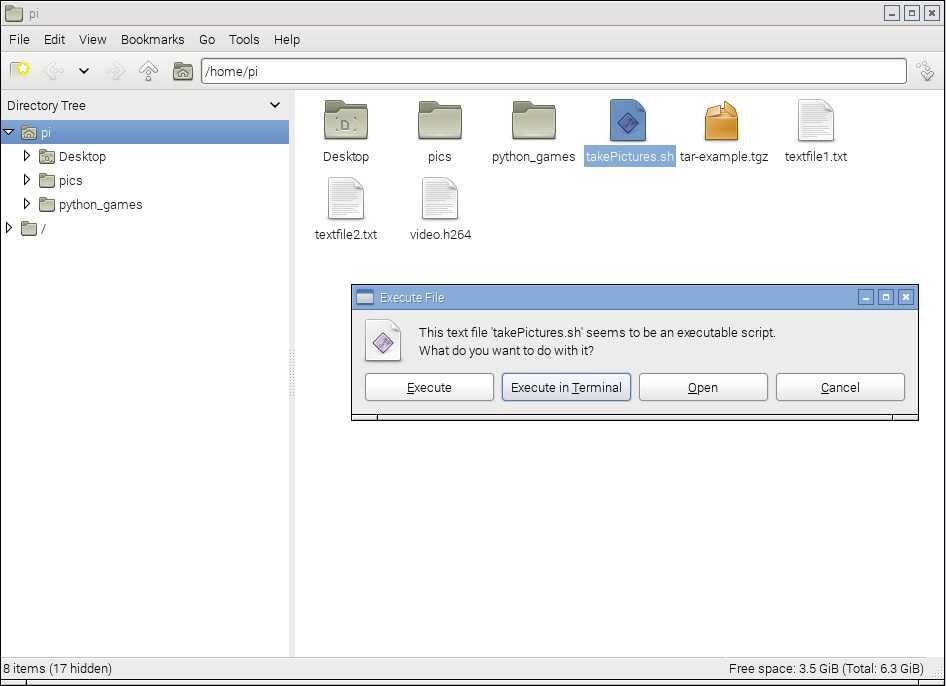
Note that you don’t have to go to the terminal to run the script; you can do that from the GUI environment. Simply browse to the directory in which the script is stored and double-click the file. In the prompt that opens, click Execute: