Create standard switches
During an ESXi installation a virtual switch named vSwitch0 is created. It contains two port groups: one for virtual machines (named VM Network) and one for management (named Management Network). You can use the vSphere Web Client to add a new virtual switch. Here are the steps:
1. Log into vCenter Server through vSphere Web Client.
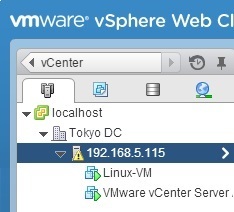
2. Go to vCenter > Hosts And Clusters and select an ESXi host from the inventory:
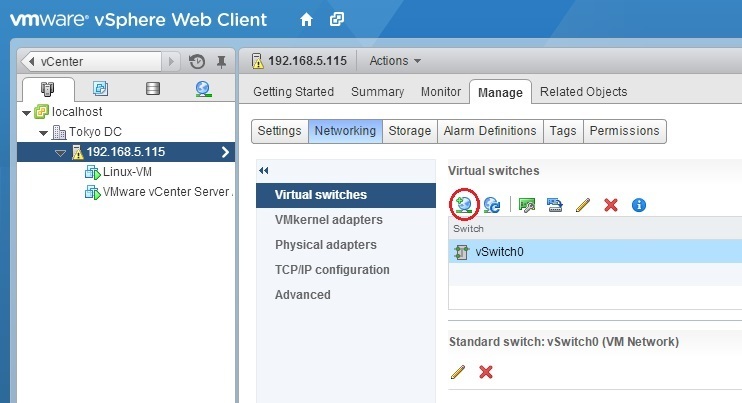
3. Click the Manage tab and select Networking:
4. Click the Add host networking icon:
5. The Add Networking wizard opens. Select Virtual Machine Port Group for a Standard Switch as the connection type:
6. Select New standard switch and click Next:
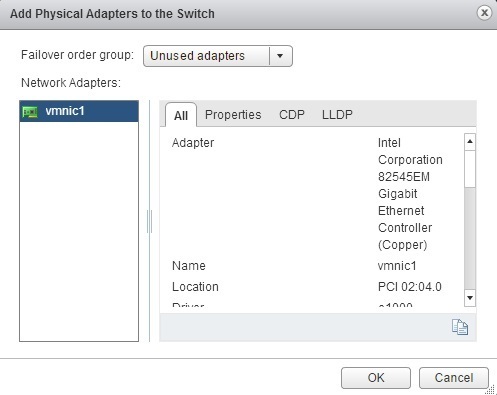
7. Click the green plus icon under Assigned adapters to assign a physical network adapter:
8. Under Failover Order Group, select Unused adapters and select an unused network adapter:
9. Move the entry from the Unused adapters section to the Active adapters section using the blue up arrow and click Next:
10. Type a network label for the default port group that will be added to this switch. If you are using multiple ESXi hosts with vCenter and vMotion, make sure that this network label is consistent across all of your ESXi hosts. You can keep the default setting for VLAN ID.
11. Click Finish to add the new switch:
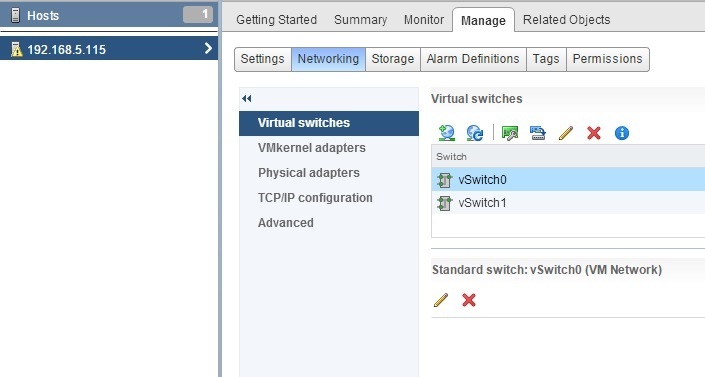
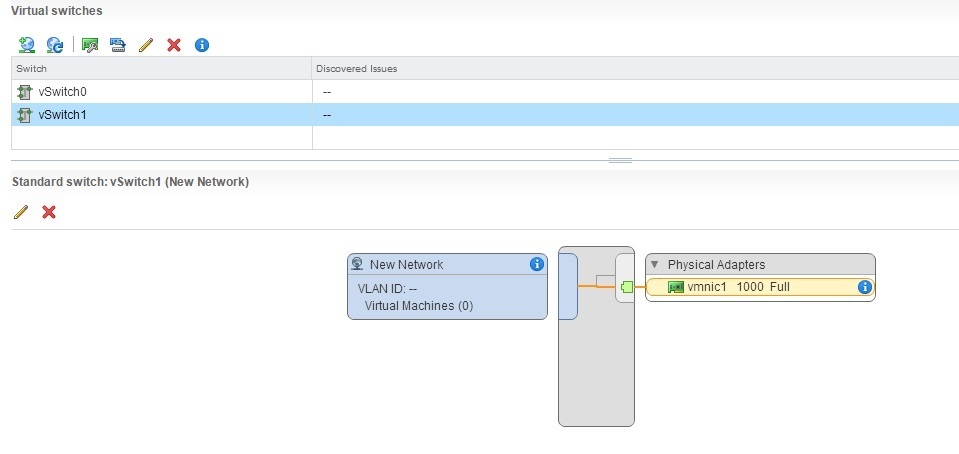
The new virtual switch should be listed under Virtual switches:


