Configure VLANs
VLANs (Virtual LANs) are logical groupings of devices in the same broadcast domain. They are usually configured on switches by placing some ports into one broadcast domain and other ports into another. VLANs can spread across multiple switches, enabling communications as if all virtual machines or ports in a VLAN are on the same physical LAN segment.
VLANs offer many advantages, including:
- broadcast traffic will be received and processed only by devices inside the same VLAN, which can improve network performance.
- users can be grouped by a department and not by the physical location.
- sensitive traffic can be isolated in a separate VLAN for the purpose of security.
ESXi supports 802.1Q VLAN tagging. A port group is given a VLAN ID, uniquely identifying that VLAN across the network. Packets from a virtual machine are tagged as they exit the virtual switch and untagged as they return to the VM. Since VLAN is a switching technology, no configuration is required on the virtual machine. The port on the physical switch to which the ESXi host is connected must be defined as a static trunk port (a port that can carry traffic from and to all VLANs).
Here are the steps to configure a port group with a VLAN ID on a standard virtual switch using vSphere Web Client:
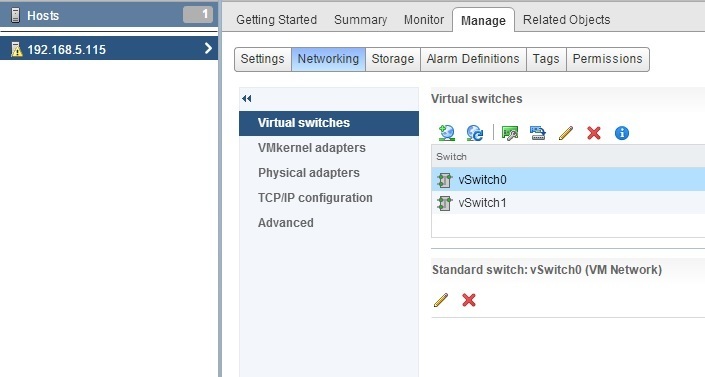
1. Navigate to the ESXi host to which you want to add the port group. Select the Manage tab, and then select Networking:
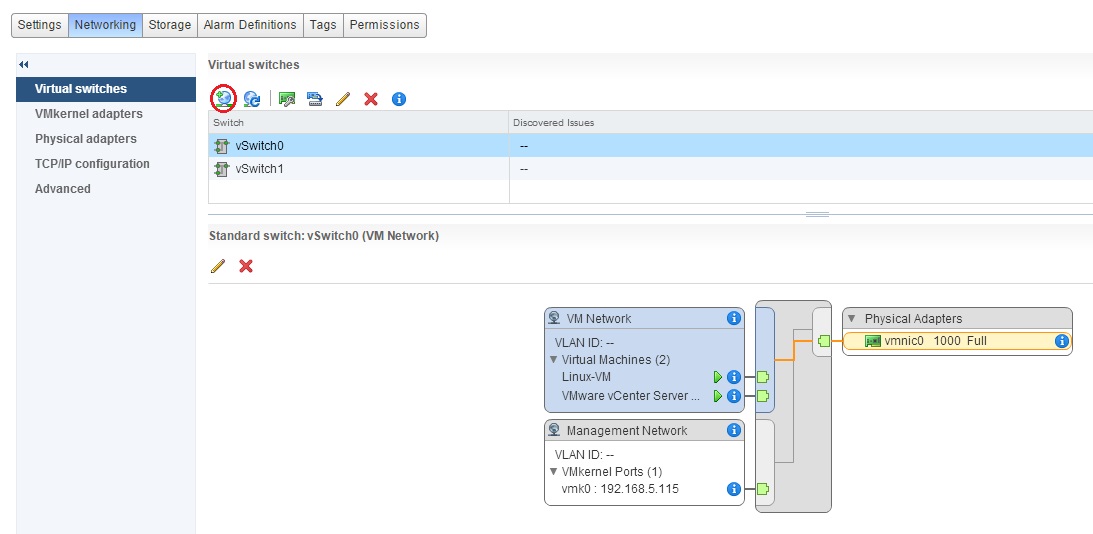
2. Select the virtual switch where the new port group should be created and click the Add Host Networking icon:
3. The Add networking wizard starts. Select the Virtual Machine Port Group for a Standard Switch and click Next:
4. Select the Select An Existing Standard Switch radio button and use the Browse button to choose which virtual switch will host the new port group:
7. Type the name of the VM port group in the Network Label text box. In the VLAN ID text box, type the VLAN ID:
8. Click Finish to end the wizard.
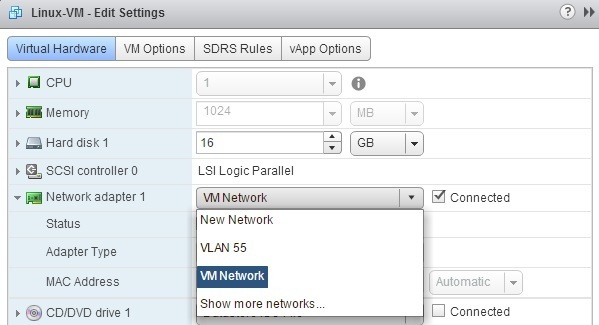
You can now change the VM port group in order to place the virtual machine in the new VLAN:


