Add ESXi host to vCenter Server Inventory
ESXi hosts need to be added the vCenter Server inventory in order to create a vSphere environment and use vSphere features such as High Availability or Fault Tolerance. Before adding an ESXi host to the vCenter Server inventory, you must create at least one datacenter object. Here are the steps to create a datacenter object using the vSphere Web Client:
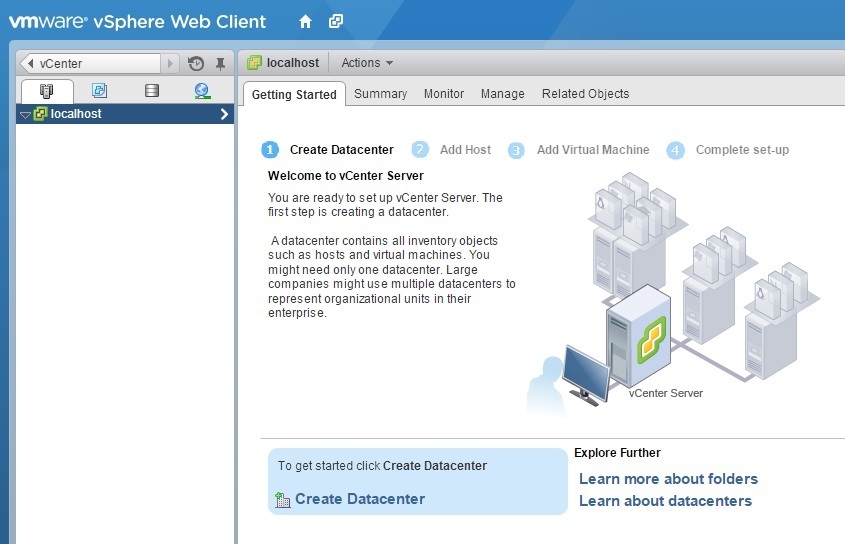
1. Log in to your vCenter Server instance at http://vcenter_server:9443/vsphere-client and go to Home > vCenter > Hosts and Clusters:
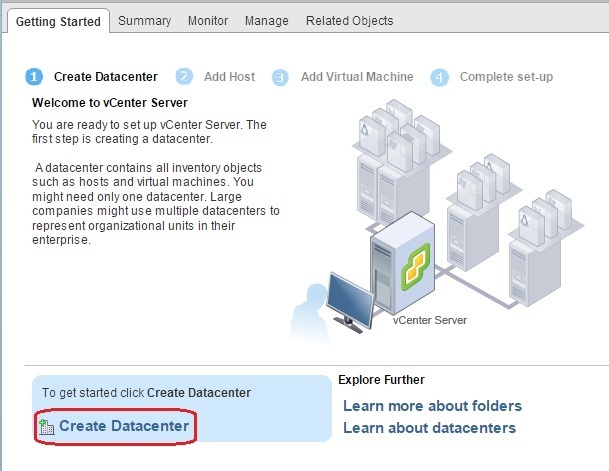
2. In the Getting Started window, click Create Datacenter:
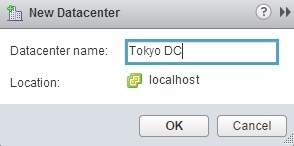
3. Enter the name of the data center:
Now you can add an ESXi host to the vCenter Server inventory. Here are the steps:
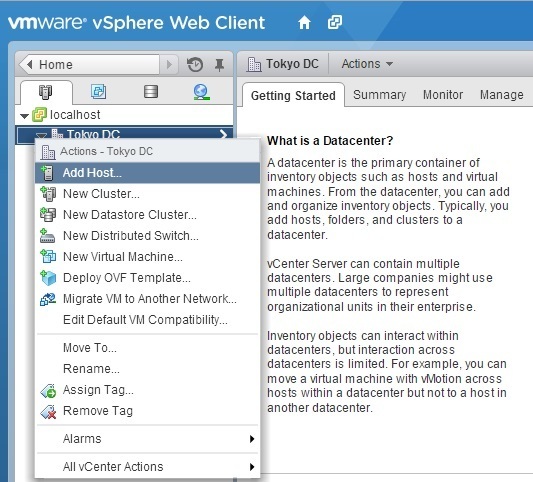
1. Right-click the datacenter object you’ve created in the previous step and select Add Host:
2. Type the following information in the Add Host wizard:
Host name or IP address – the fully qualified domain name or IP address of your ESXi host:
User name and password – the password of the root account on the ESXi host. Note that this is not the password of the vCenter Server administrator:
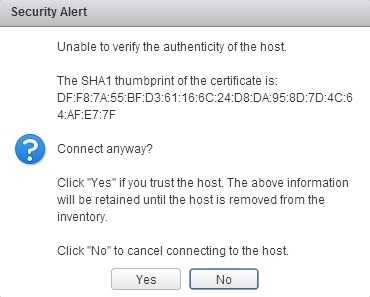
If you get the security alert about the authenticy of the host, click Yes to trust the host:
Host summary – review the summary information and click Next:
Assign license – select whether you want to assign a new license key or use an existing one:
Lockdown mode – you can disable access to the ESXi host for the root account after vCenter Server takes control of the host. This way the ESXi host can be managed only through vCenter Server or the local console:
Virtual Machine Location – select the data center:
Ready to Complete – review the information and click Finish:
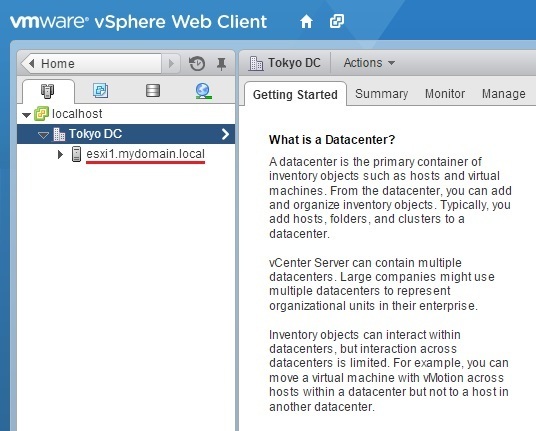
The ESXi host should be visible under the datacenter object:


