vCenter Server installation (Custom Install method)
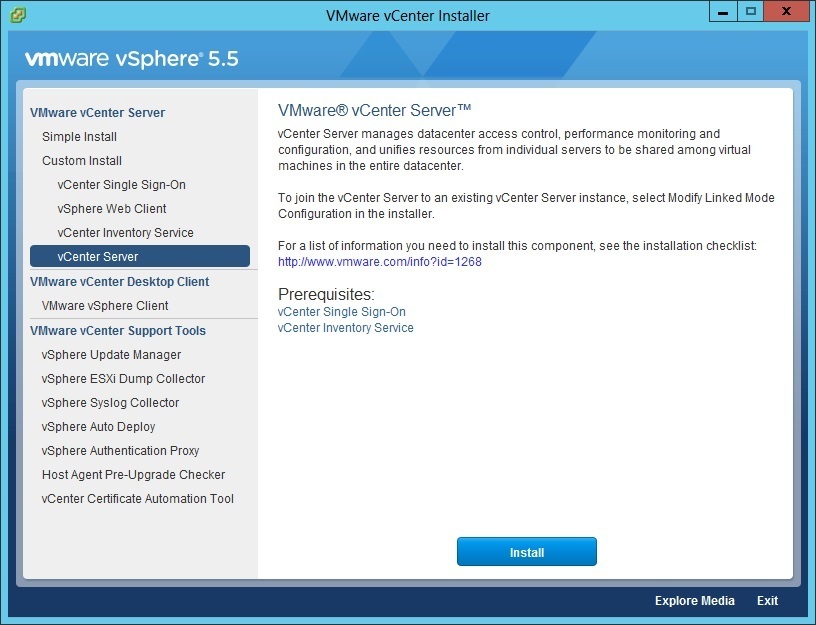
vCenter Server is an application that enables you to manage your vSphere infrastructure from a centralized location. In this lesson we will describe how to install vCenter Server on Windows Server using the Custom Install option in the vCenter Server installer. Note that vCenter Single-Sign On and vCenter Inventory Service are prerequisites for installing vCenter Server.
Start your vCenter Server Installer by running autorun.exe. Select vCenter Server under the Custom Install option and click Install:
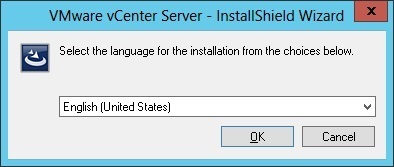
Select the installation language:
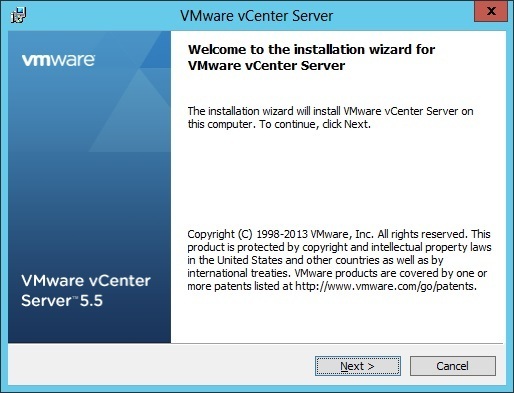
Click Next on the Welcome page:
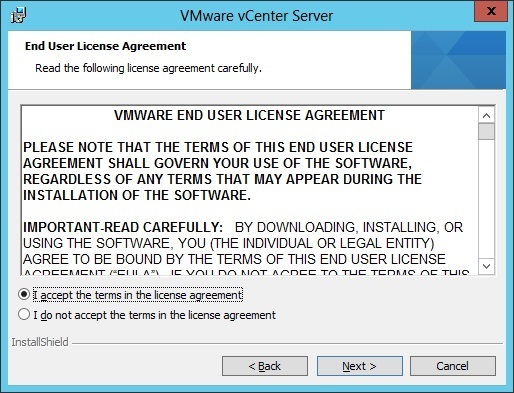
Accept the license agreement and click Next:
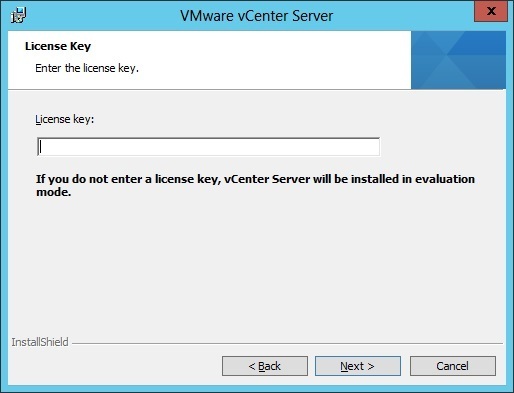
Enter the license key for your vCenter Server installation. If you don’t have one, leave the field blank and vCenter Server will be installed in the 60-day evaluation mode:
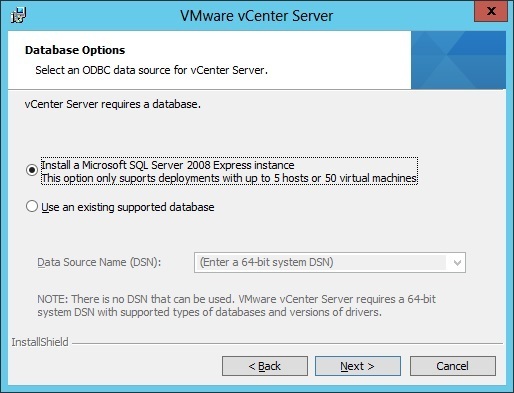
Select the database solution for vCenter Server. In this example we will install a new Microsoft SQL Server 2008 Express instance. If you are planning to have a larger virtual environment, you should use an external database provider such as Oracle.
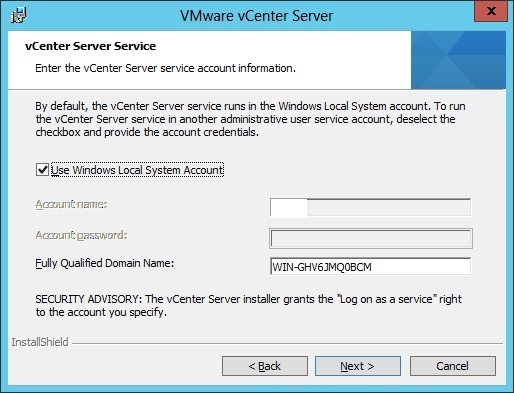
Select the user type that the vCenter Server should run with. By default, the vCenter Server service will use the Windows Local System account:
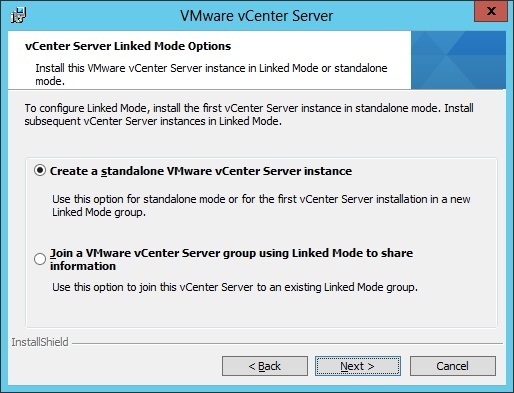
Select the Linked mode option. This mode allows multiple vCenter Servers to share information. If this is your first vCenter Server installation, select the first option:
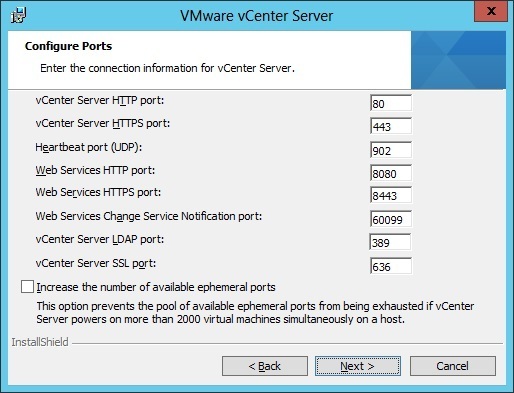
Next, choose the ports for vCenter Server. It is recommended to leave the default values:
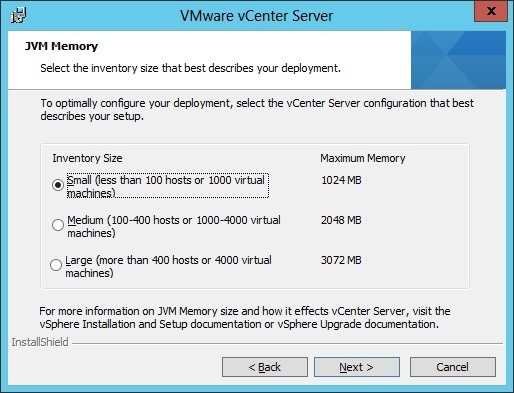
To set the JVM memory size, select the option that best describes your environment:
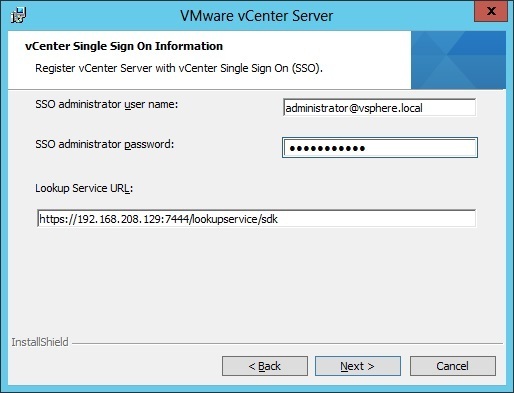
Next, enter the SSO administrator username and password and SSO Lookup Service URL. The administrative user account is the administrative account used in vsphere.local, a domain used internally by vSphere that you’ve created during the vCenter SSO installation. The Lookup Service URL takes the form https://SSO_host_FQDN_or_IP:7444/lookupservice/sdk, where SSO_host_FQDN_or_IP is the system on which the SSO is installed on and 7444 is the default vCenter Single Sign-On HTTPS port number:
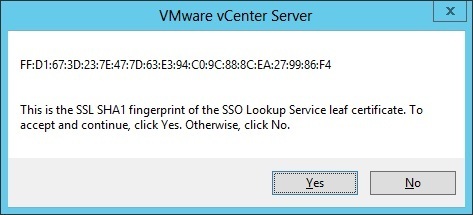
Review the cerfiticate fingerprint and click Yes:
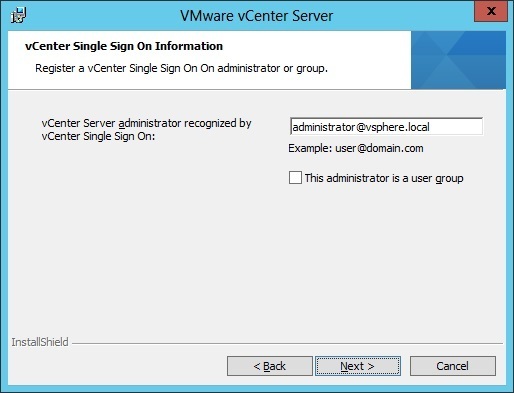
Enter the SSO administrator user. By default, this value is administrator@vsphere.local. The only time this value may be changed is when you have made modifications to the SSO service before installing vCenter Server:
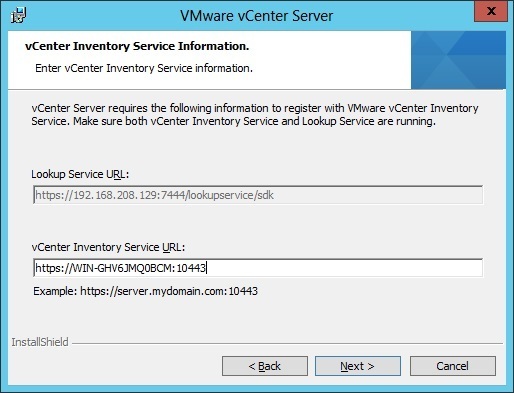
Check the Fully Qualified Domain Name (FQDN) of the vCenter Inventory Service URL and port number. This field should be auto-populated:
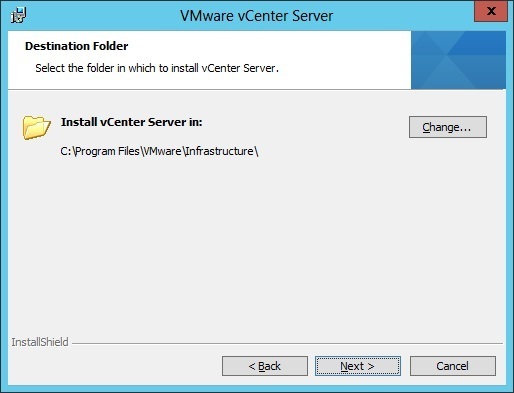
Select the installation folder:
Click Install to begin the installation.
