vApp settings
After you’ve created a vApp, you can edit its various settings, such as:
- CPU Resources – you can specify the priority and CPU limits and reservation for the vApp.
- Memory Resources – you can specify the priority and memory limits and reservation for the vApp.
- IP allocation – you can specify the IP allocation policy for the vApp. IP addresses can be allocated for the vApp in three ways:
- Fixed – IP addresses are manually configured.
- Transient – IP addresses are automatically allocated by vCenter Server by using IP pools from a specified range when the vApp is powered on.
- DHCP – a DHCP server is used to allocate the IP addresses.
- Start order – you can change the order in which the virtual machines in this vApp are started and shut down.
- Advanced settings – settings such as product and vendor information and custom properties.
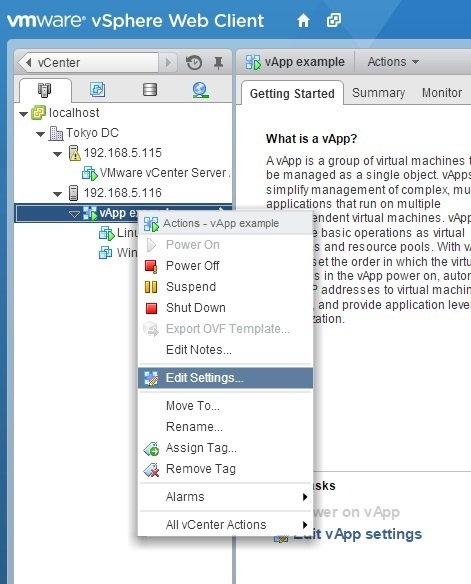
For example, to change the start order of the VM’s inside a vApp, right-click the vApp from the inventory and select the Edit Settings option:
Expand the Start order tab. The virtual machines are assigned to groups. All virtual machines in the same group are started before the VM’s in the next group. Note that the shutdown is done in reverse order:

In the example above you can see that the VM named Linux-VM will start first. After 120 seconds, the second VM, Windows VM, will start.
