Create virtual machine template
Here are the instructions on how to create a virtual machine template using vSphere Web Client:
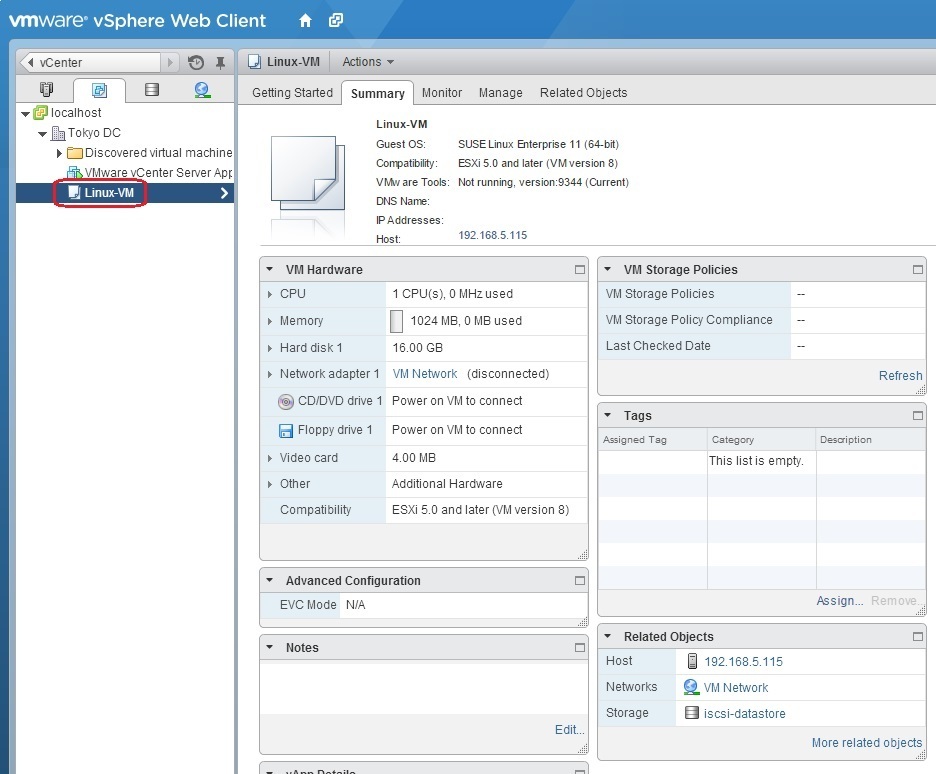
1. Go to the VMs And Templates inventory view. Right-click the VM you want to use as a template and select All vCenter Actions > Clone to Template or All vCenter Actions > Convert to Template. Both options will create a template, but the original VM will be retained only if you use the Clone to Template option:

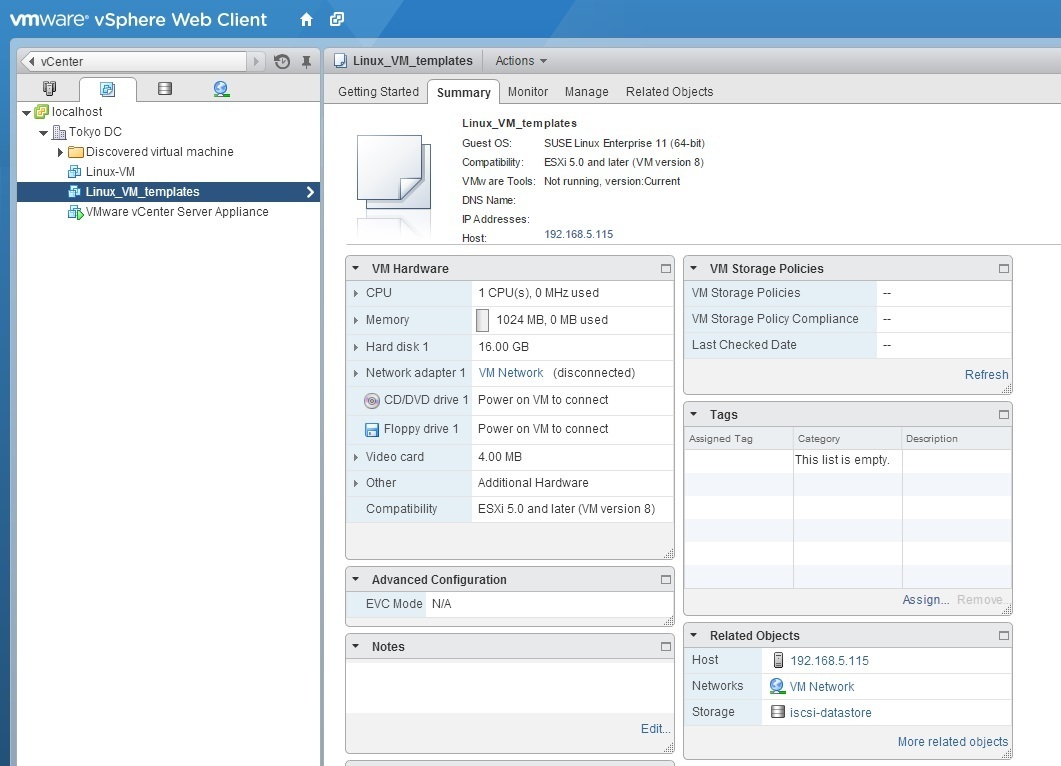
2a. If you’ve selected the Convert to Template option, you should see the template in the Inventory. Note that the original virtual machine was not retained:
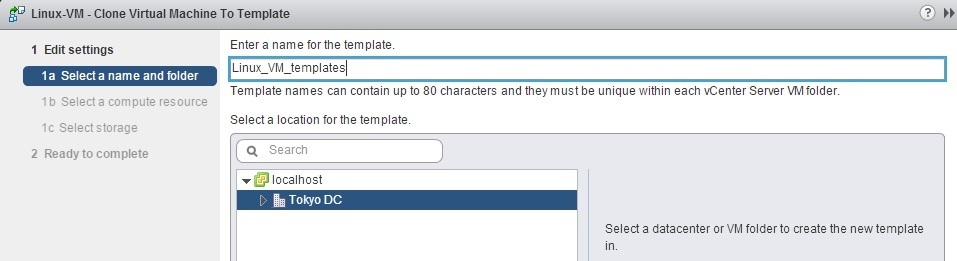
2b. If you’ve selected the Clone to Template option, the wizard should open. Type the template name and select the location for the template:
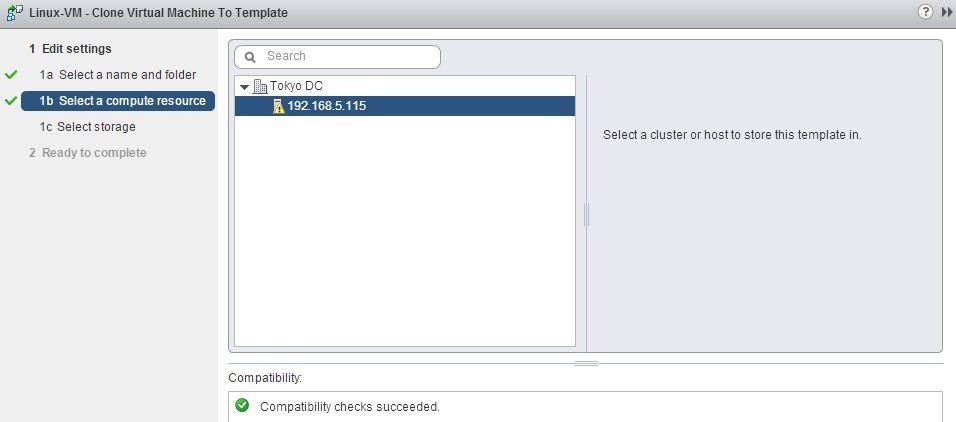
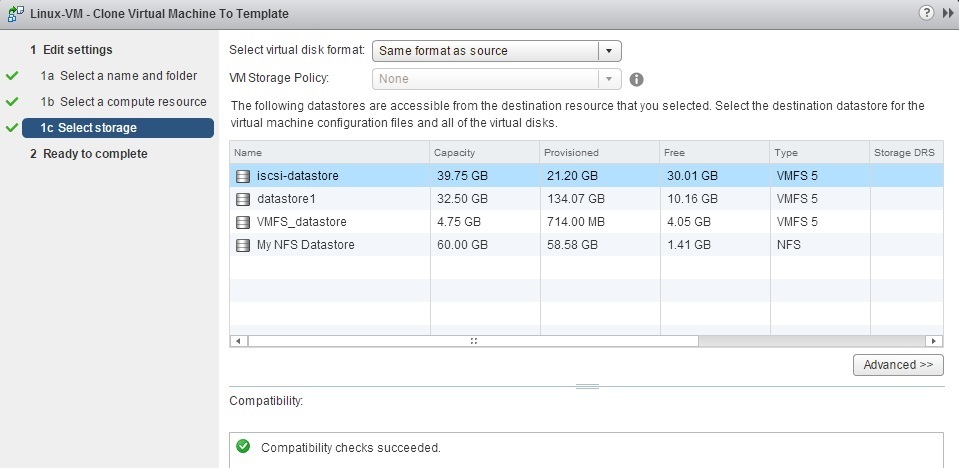
Select the host or cluster where the template will be hosted:
Select the disk format for the template. Four options are available:
- Same format as source – keeps the template’s virtual disks in the same format as the VM that is being cloned.
- Thick Provision Lazy Zeroed – the disk space will be fully allocated when the virtual disk is created. The disk space will not be zeroed out upon creation.
- Thick Provision Eager Zeroed – the disk space will be fully allocated when the virtual disk is created. The disk space will be zeroed out upon creation.
- Thin Provision – the virtual disks will occupy only as much space as is currently used by the guest OS.
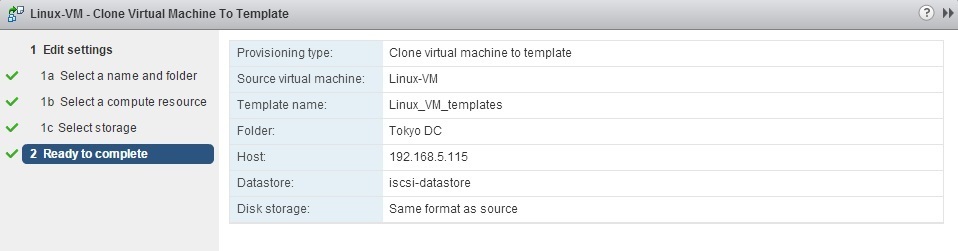
Review the information and click Finish:
You should see the template in the Inventory. Note that the original virtual machine is retained: