vCenter SSO installation
You can install vCenter SSO using the VMware vCenter Installer. Two installation options are supported:
1. use the Simple Install option to deploy the basic mode. This option installs vCenter SSO, vCenter Server, vSphere Web Client and vCenter Inventory Service on the same host and it is appropriate for most deployments. The Simple Install method is explained here.
2. use the Custom Install option to install the multisite or HA mode. This option enables you to install vCenter SSO separately from vCenter Server, vCenter Inventory Service or vSphere Web Client. This is often recommended for medium to large environments.
In this section we will describe how to install vCenter SSO using the Custom Install option.
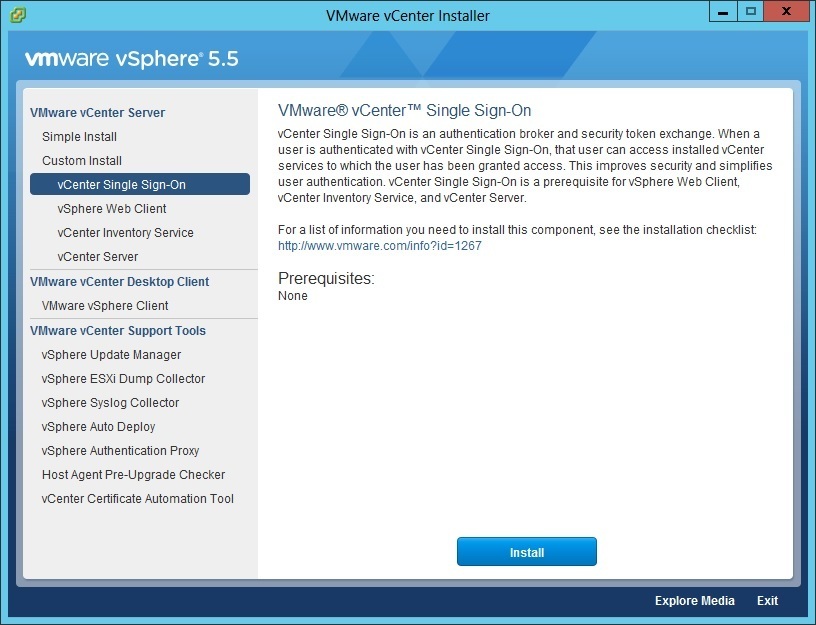
To start the installation, select vCenter Single Sign-On from the VMware vCenter Installer:
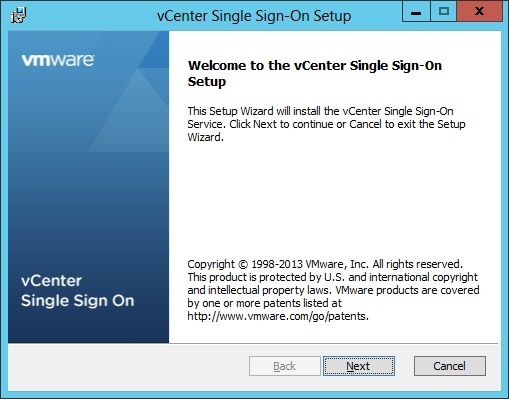
Click Next to start the setup:
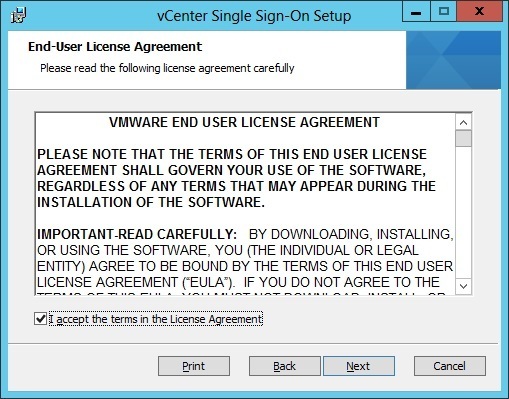
Accept the license agreement and click Next:
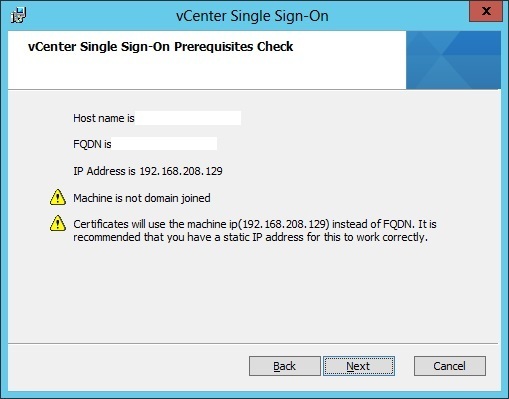
Verify the prerequisites and click Next:
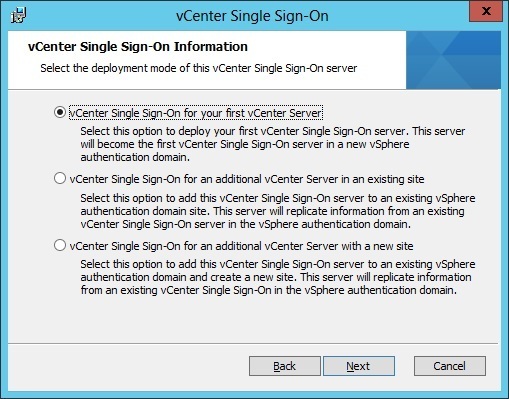
Select the deployment mode. Three modes are available. In this is your first vCenter SSO installation, select the first option and click Next:
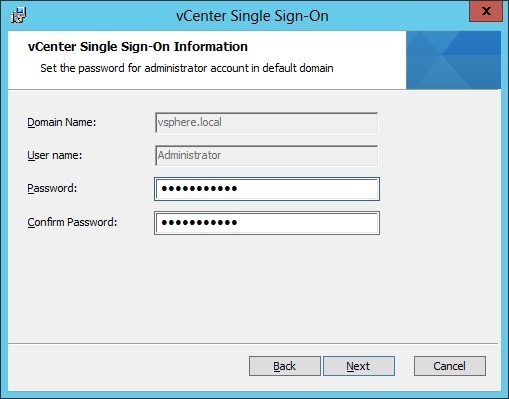
Choose a password for the Single Sign-On (SSO) administrator user. This is the administrative account used in the vsphere.local, which is a domain used internally by vSphere:
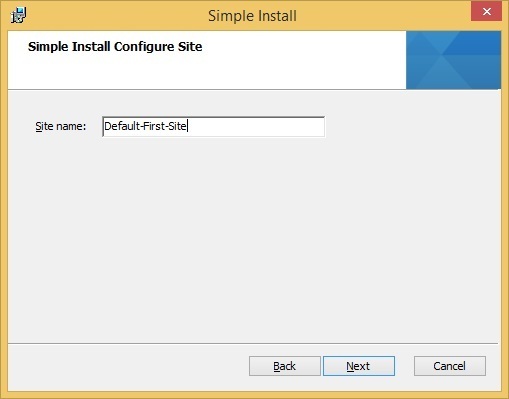
Choose a site name. The site name is used in environments where there are SSO servers in multiple sites.
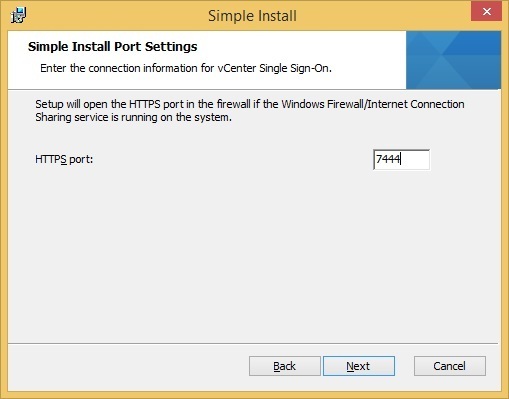
Next, you are prompted to choose the TCP port number for the SSO service. You can leave the default value of 7444 in most cases:
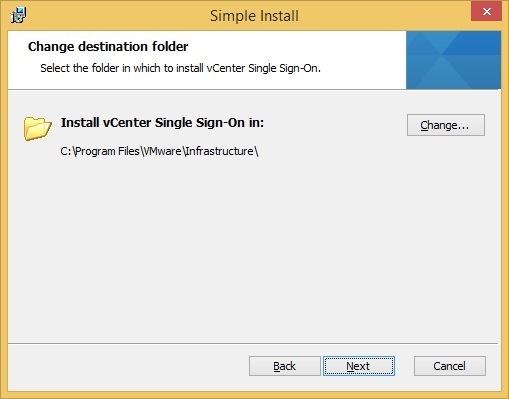
Choose the install location and click Next:
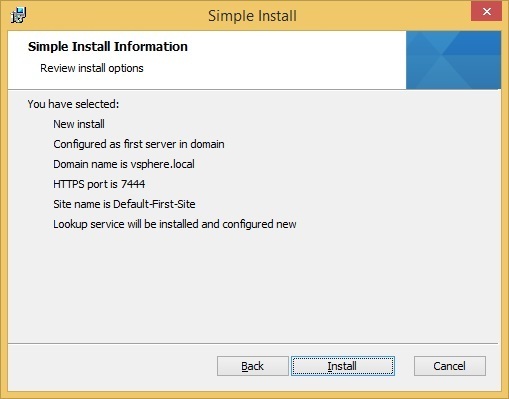
Review the install options and click Install to start the installation:


