Create virtual machines
Here are the instructions to create virtual machines using vSphere Web Client:
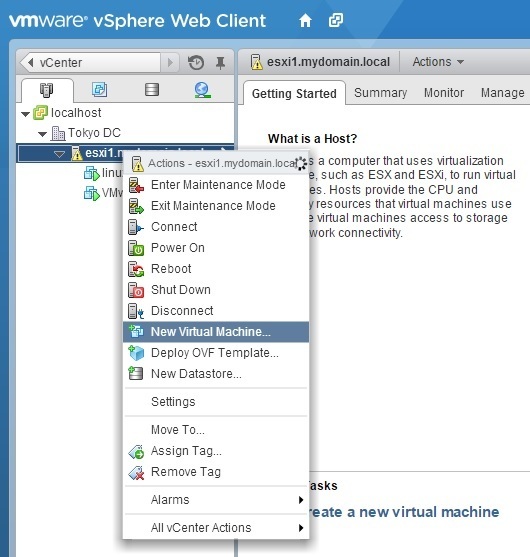
1. Launch the vSphere Web Client, and connect to a vCenter Server instance. From a datacenter or ESXi host in the inventory, right-click and select New Virtual Machine from the Actions menu:
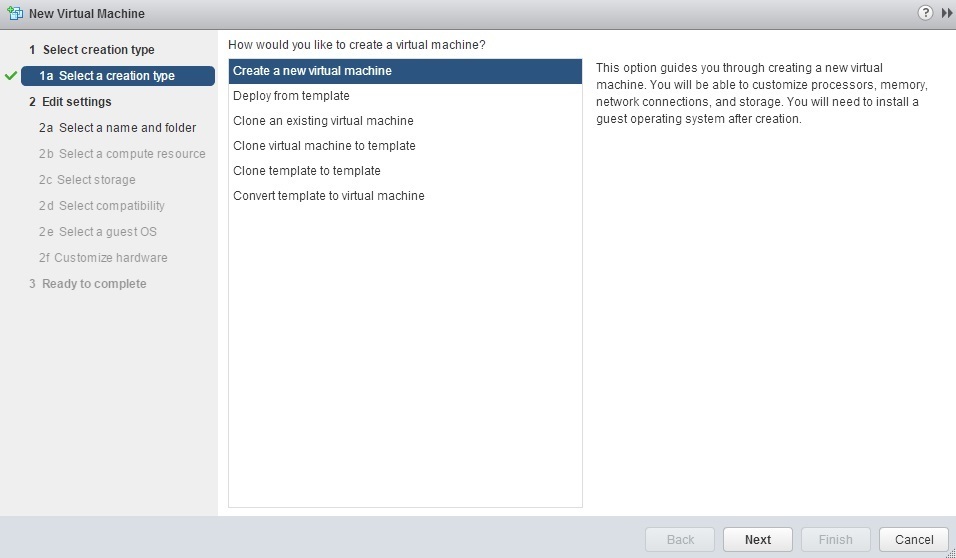
2. In the New Virtual Machine Wizard, select Create a new virtual machine and click Next:
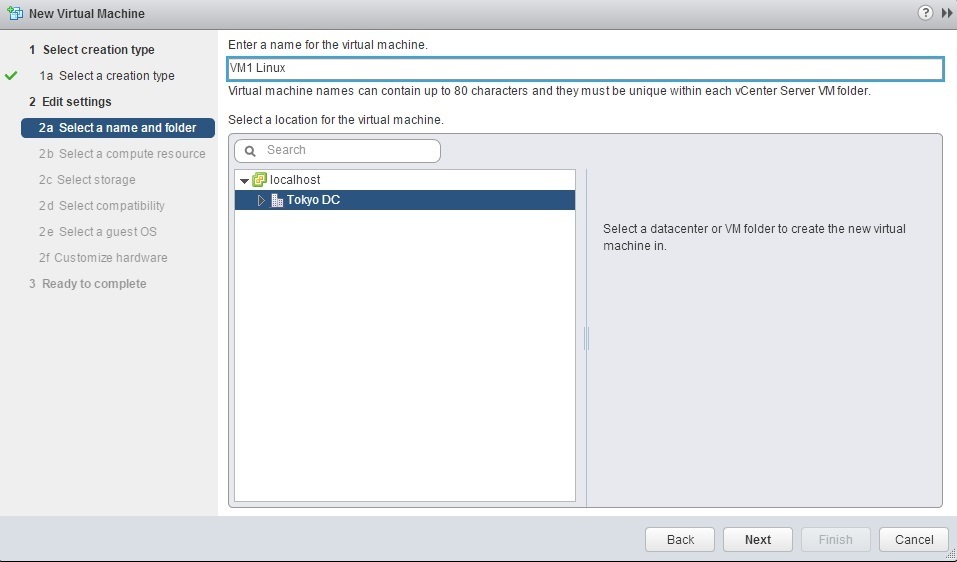
3. Type the virtual machine name and select a location in the inventory where the VM will reside:
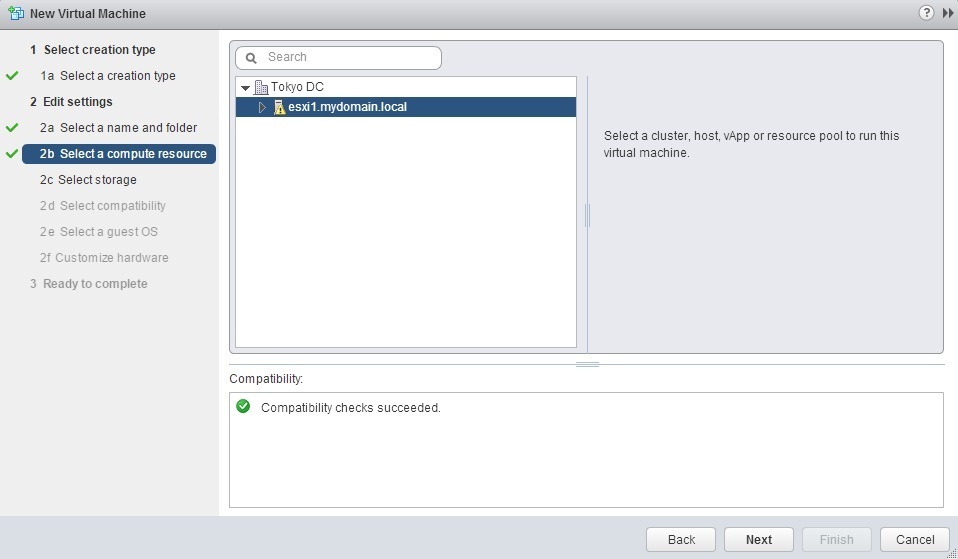
4. Select a host, cluster or resource pool on which the VM will run:
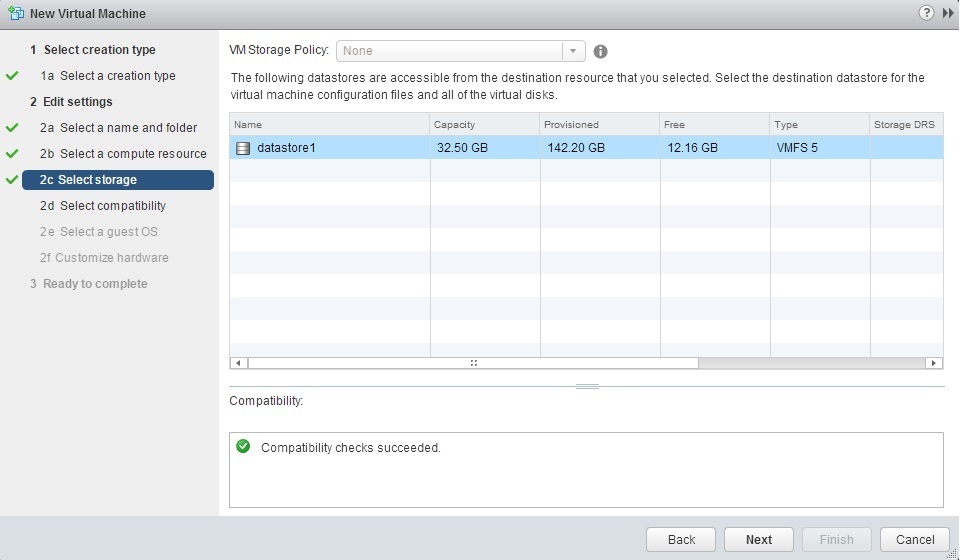
5. Next, select a datastore where the VM files will be located:
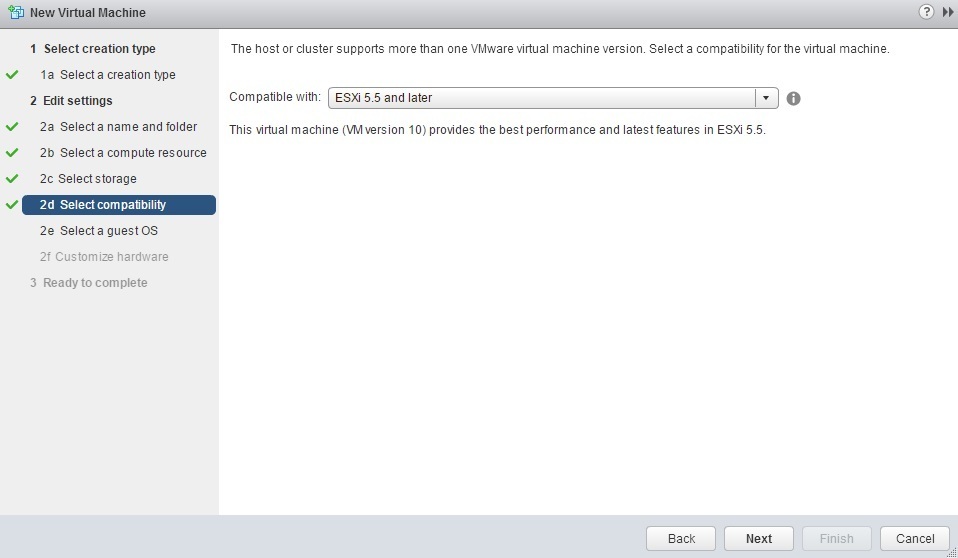
6. Select the VMware virtual machine version. If the VM you are creating will be shared with ESXi hosts running both version 5.1 and version 5.5, choose ESXi 5.1 and later (VM version 9). If the VM will be used only with vSphere 5.5, then choose ESXi 5.5 and later (VM version 10):
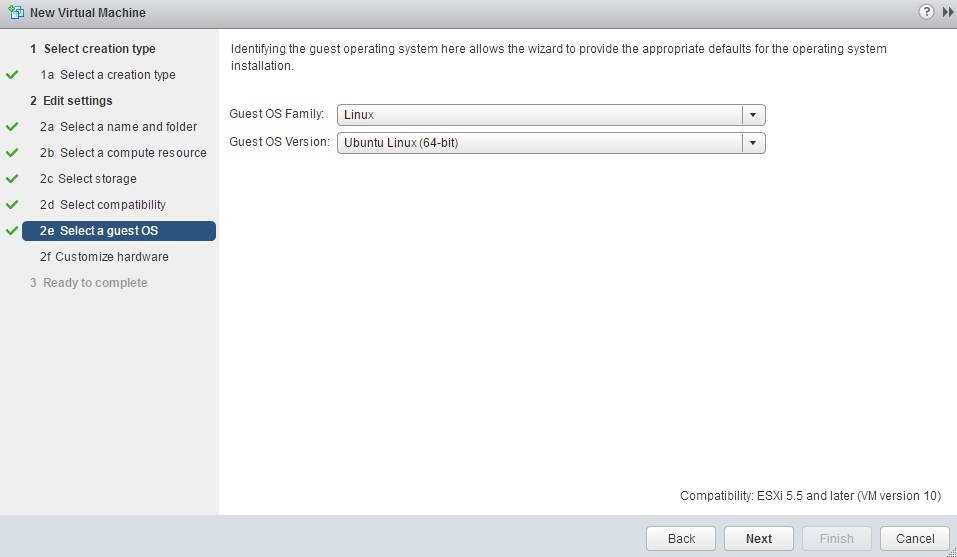
7. Select the guest operating system version:
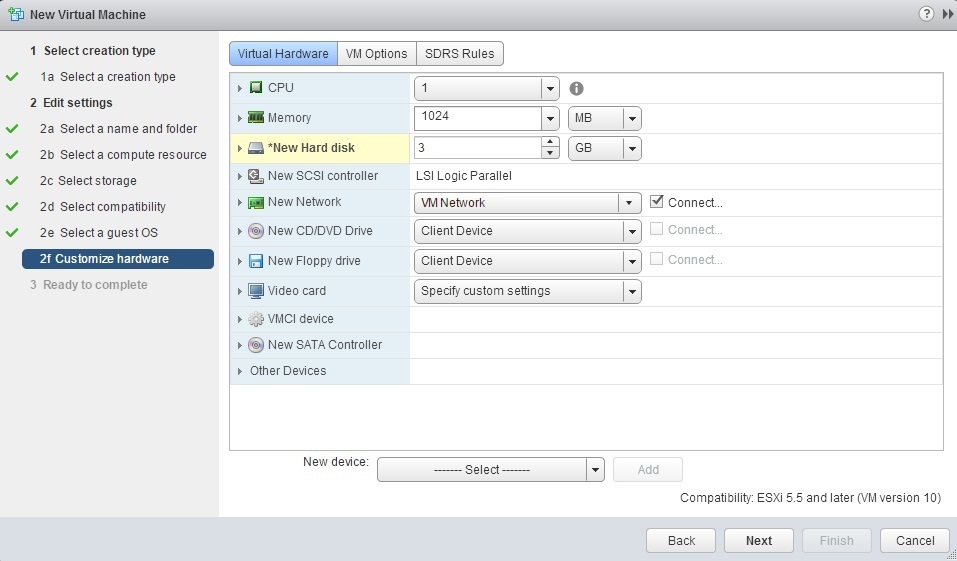
8. At the Customize Hardware screen you can configure the number of vCPUs, amount of RAM, number of NICs, the network to connect to, network adapter type, etc:
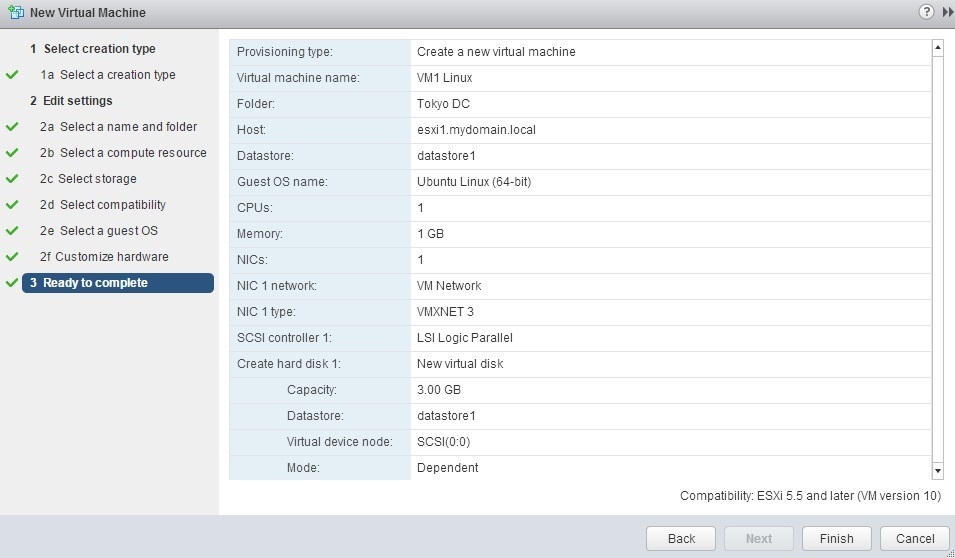
9. Verify the information and click Finish to start creating the virtual machine: