Enable SSH on Cisco router
Telnet sends all data in clear-text, including usernames and passwords. That is why it is recommended to use SSH (Secure Shell) to establish a secure session with a remote device. SSH encrypts all data transmitted over a network.
Here are the steps to configure SSH on a Cisco router:
- configure the router hostname using the hostname command.
- configure the domain name using the ip domain-name command.
- generate public and private keys using the crypto key generate rsa command.
- create a user in the local database using the username…secret command.
- allow only SSH access on VTY lines using the transport input ssh command.
Here is an example configuration:
R1(config)#hostname RTR1
RTR1(config)#ip domain-name mydomain.local
RTR1(config)#crypto key generate rsa
The name for the keys will be: RTR1.mydomain.local
Choose the size of the key modulus in the range of 360 to 2048 for your
General Purpose Keys. Choosing a key modulus greater than 512 may take
a few minutes.

How many bits in the modulus [512]:
% Generating 512 bit RSA keys ...[OK]

RTR1(config)#username sshuser secret secretpass
RTR1(config)#line vty 0 15
RTR1(config-line)#login local
RTR1(config-line)#transport input ssh
We can now use an application such as PuTTY to access our device using SSH:
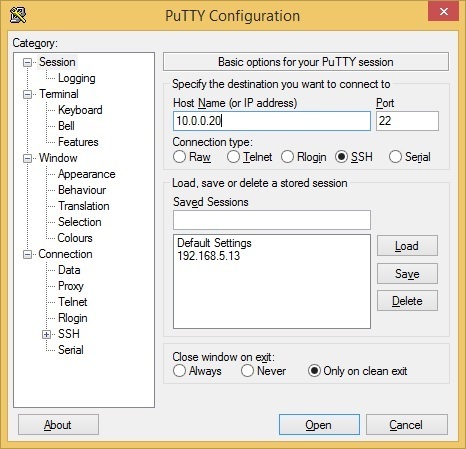
The system will prompt us for the username and password:
login as: sshuser
sshuser@10.0.0.20's password:

RTR1>
