Install Nmap on Windows
Nmap is officially supported for Windows 7 and newer. However, the Windows port is not quite as efficient as on Linux. Here are the limitations:
- you cannot scan your own machine from itself (using a loopback IP address of 127.0.0.1 or any of its registered IP addresses).
- only Ethernet interfaces are supported (including most 802.11 wireless cards) for raw packet scans.
- some scans (such as the connect scan) are much slower than on Linux.
Here are the steps to install Nmap on Windows:
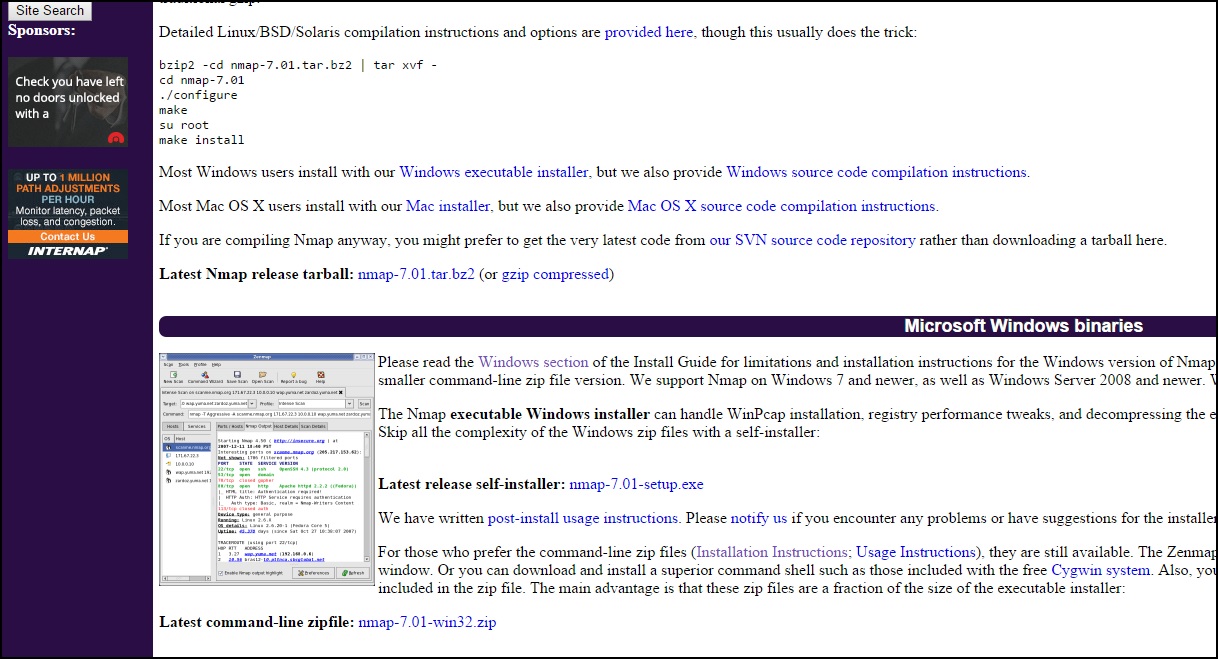
1. Browse to https://nmap.org/download.html and download the latest self-installer:
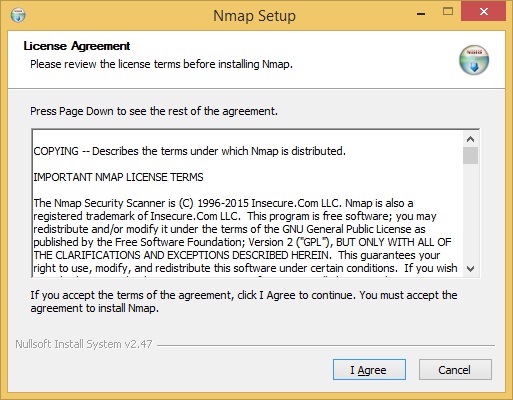
2. Run the downloaded .exe file. In the window that opens, accept the license terms:
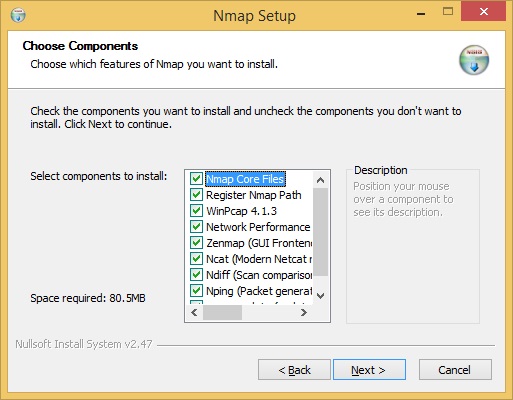
3. Choose the components to install. By default, the Zenmap GUI will be installed:
4. Select the install location and click Install:

5. The installation should be completed in a couple of minutes.